



Opublikowano: 09 July 2026
Czas czytania: 25 minutes
Recenzent: Simon Scrapes, założyciel
Introduction: Why Reflow Oven Maintenance Matters for SMT Production Excellence
Picture this. It’s a Tuesday morning in your SMT facility, production is running at full speed, and suddenly your reflow oven starts spitting out boards with cold solder joints. That sinking feeling hits your stomach right away. Downtime is eating into your margins, defect rates are climbing, and your team is scrambling.
Sound familiar? You’re definitely not alone.
Here’s the thing about reflow ovens. They’re the workhorses of any SMT production line, and they represent a serious chunk of change in your capital budget. We’re talking about equipment that can cost anywhere from $30,000 to well over $150,000 depending on the setup. So naturally, you want that investment to last and perform at its best for as long as possible.
The good news? Research shows that factories implementing regular maintenance routines can slash sudden reflow oven failures by up to 80%. That’s a massive difference when you’re running high-volume production where every hour of downtime translates directly into lost revenue and mounting scrap costs.
Here’s what I always tell teams: the connection between maintenance frequency and defect rates isn’t linear, it’s exponential. Skip a few cleaning cycles, skip a calibration check, and suddenly you’re dealing with temperature drift, uneven heating, and a whole cascade of problems that are way more expensive to fix than to prevent.
In this guide, we’re going to walk through everything you need to keep your lead-free reflow oven running like a well-oiled machine (pun intended). From daily cleaning routines to temperature calibration procedures, conveyor belt maintenance, and troubleshooting those weird noises your oven started making last week. By the time we’re done, you’ll have a complete roadmap for extending your equipment’s lifespan and keeping those defect rates where they belong.
Zacznijmy więc.
Understanding Your Reflow Oven: Core Components and Functions
Before we get into the nitty-gritty of maintenance, let’s make sure we’re all on the same page about what’s actually inside your reflow oven. Knowing the key parts and how they work together will help you spot problems faster and actually understand what your tech is talking about when something goes wrong.
The Heating System
The heating system is basically the heart of your reflow oven. It includes heating elements, thermocouples, and temperature sensors that must all work in harmony for accurate thermal profiling. The heating elements warm up the air inside the oven, while the thermocouples act like the oven’s temperature readers, constantly checking what’s happening in each zone. Temperature sensors feed real-time data to the control panel so adjustments happen automatically.
When these components are talking to each other properly, your profile temperatury stay consistent and predictable. But when one part starts wearing out? That’s when you get those annoying temperature drifts that cause defects to spike out of nowhere.
Pro Insight: Watch your maintenance logs against your production volume. Facilities running high-mix, low-volume work tend to see thermocouple drift around 2,000 operating hours, while dedicated high-volume lines usually show sensor degradation closer to 1,500 hours. This matters because it tells you when to bump up your calibration frequency.
The Conveyor System
The conveyor system is what moves your PCBs through the oven, and it includes the belt, motor, and speed controls that determine component placement accuracy during the soldering process. The motor drives the belt at specific speeds, and speed controllers make sure that movement stays consistent. If the belt stretches or the motor starts slipping, your boards can end up in the wrong place at the wrong temperature.
I’ve seen this happen at a facility in Shenzhen. They were getting weird tombstoning issues that nobody could explain. Turned out the motor bearing was worn, causing subtle speed variations every few minutes. Once they replaced it, the problem vanished. Total fix time: 20 minutes once they knew where to look.
The Control Panel and Software
The control panel and software interface manage profile settings, alarm systems, and production data logging capabilities. This is where operators set up the reflow profile, adjust conveyor speeds, and check for any warning signs. Modern ovens have touchscreens with intuitive menus, while older models might still use that cryptic keypad that nobody remembers the PIN for.
The software also logs all your production data, which is super useful when you need to trace back why a certain batch had issues. Make it a habit to check these logs during your shifts. Patterns show up there before they show up as defects on your output.
Understanding these three main systems and how they work together gives you a solid foundation for everything else in this guide. When something goes wrong, you’ll know roughly where to look first.
Safety First: Essential Precautions Before Starting Maintenance
Before you grab that cleaning brush or start poking around inside your reflow oven, let’s talk safety. I know, I know, it’s not the exciting part. But I’ve seen what happens when people rush into maintenance without proper precautions. Burns, electrical shocks, and equipment damage that costs way more than any downtime would have. Not worth it.
Cooling Down: The Non-Negotiable First Step
Your reflow oven reaches temperatures over 250 degrees Celsius during operation. That’s hot enough to cause serious burns in seconds. Always, and I mean always, let the oven cool completely before starting any maintenance work. This typically takes 2 to 4 hours after the last production run, depending on your specific model.
We keep a simple rule in our facility: if the oven surface is warm to the touch, it’s not ready. Period. Some facilities use infrared thermometers to verify internal temperatures have dropped below 40 degrees Celsius before allowing access.
Power and Lockout/Tagout Procedures
Once the oven is cool, disconnect the power supply and implement lockout/tagout (LOTO) procedures according to your facility’s safety protocols. This means physically locking the power switch in the off position and tagging it with your name and the date.
The OSHA standard 29 CFR 1910.147 covers these procedures specifically. Two people minimum should be involved in maintenance work: one to control the energy source and one to observe. It might seem excessive, but it prevents accidental startups that could injure someone inside the oven.
Personal Protective Equipment
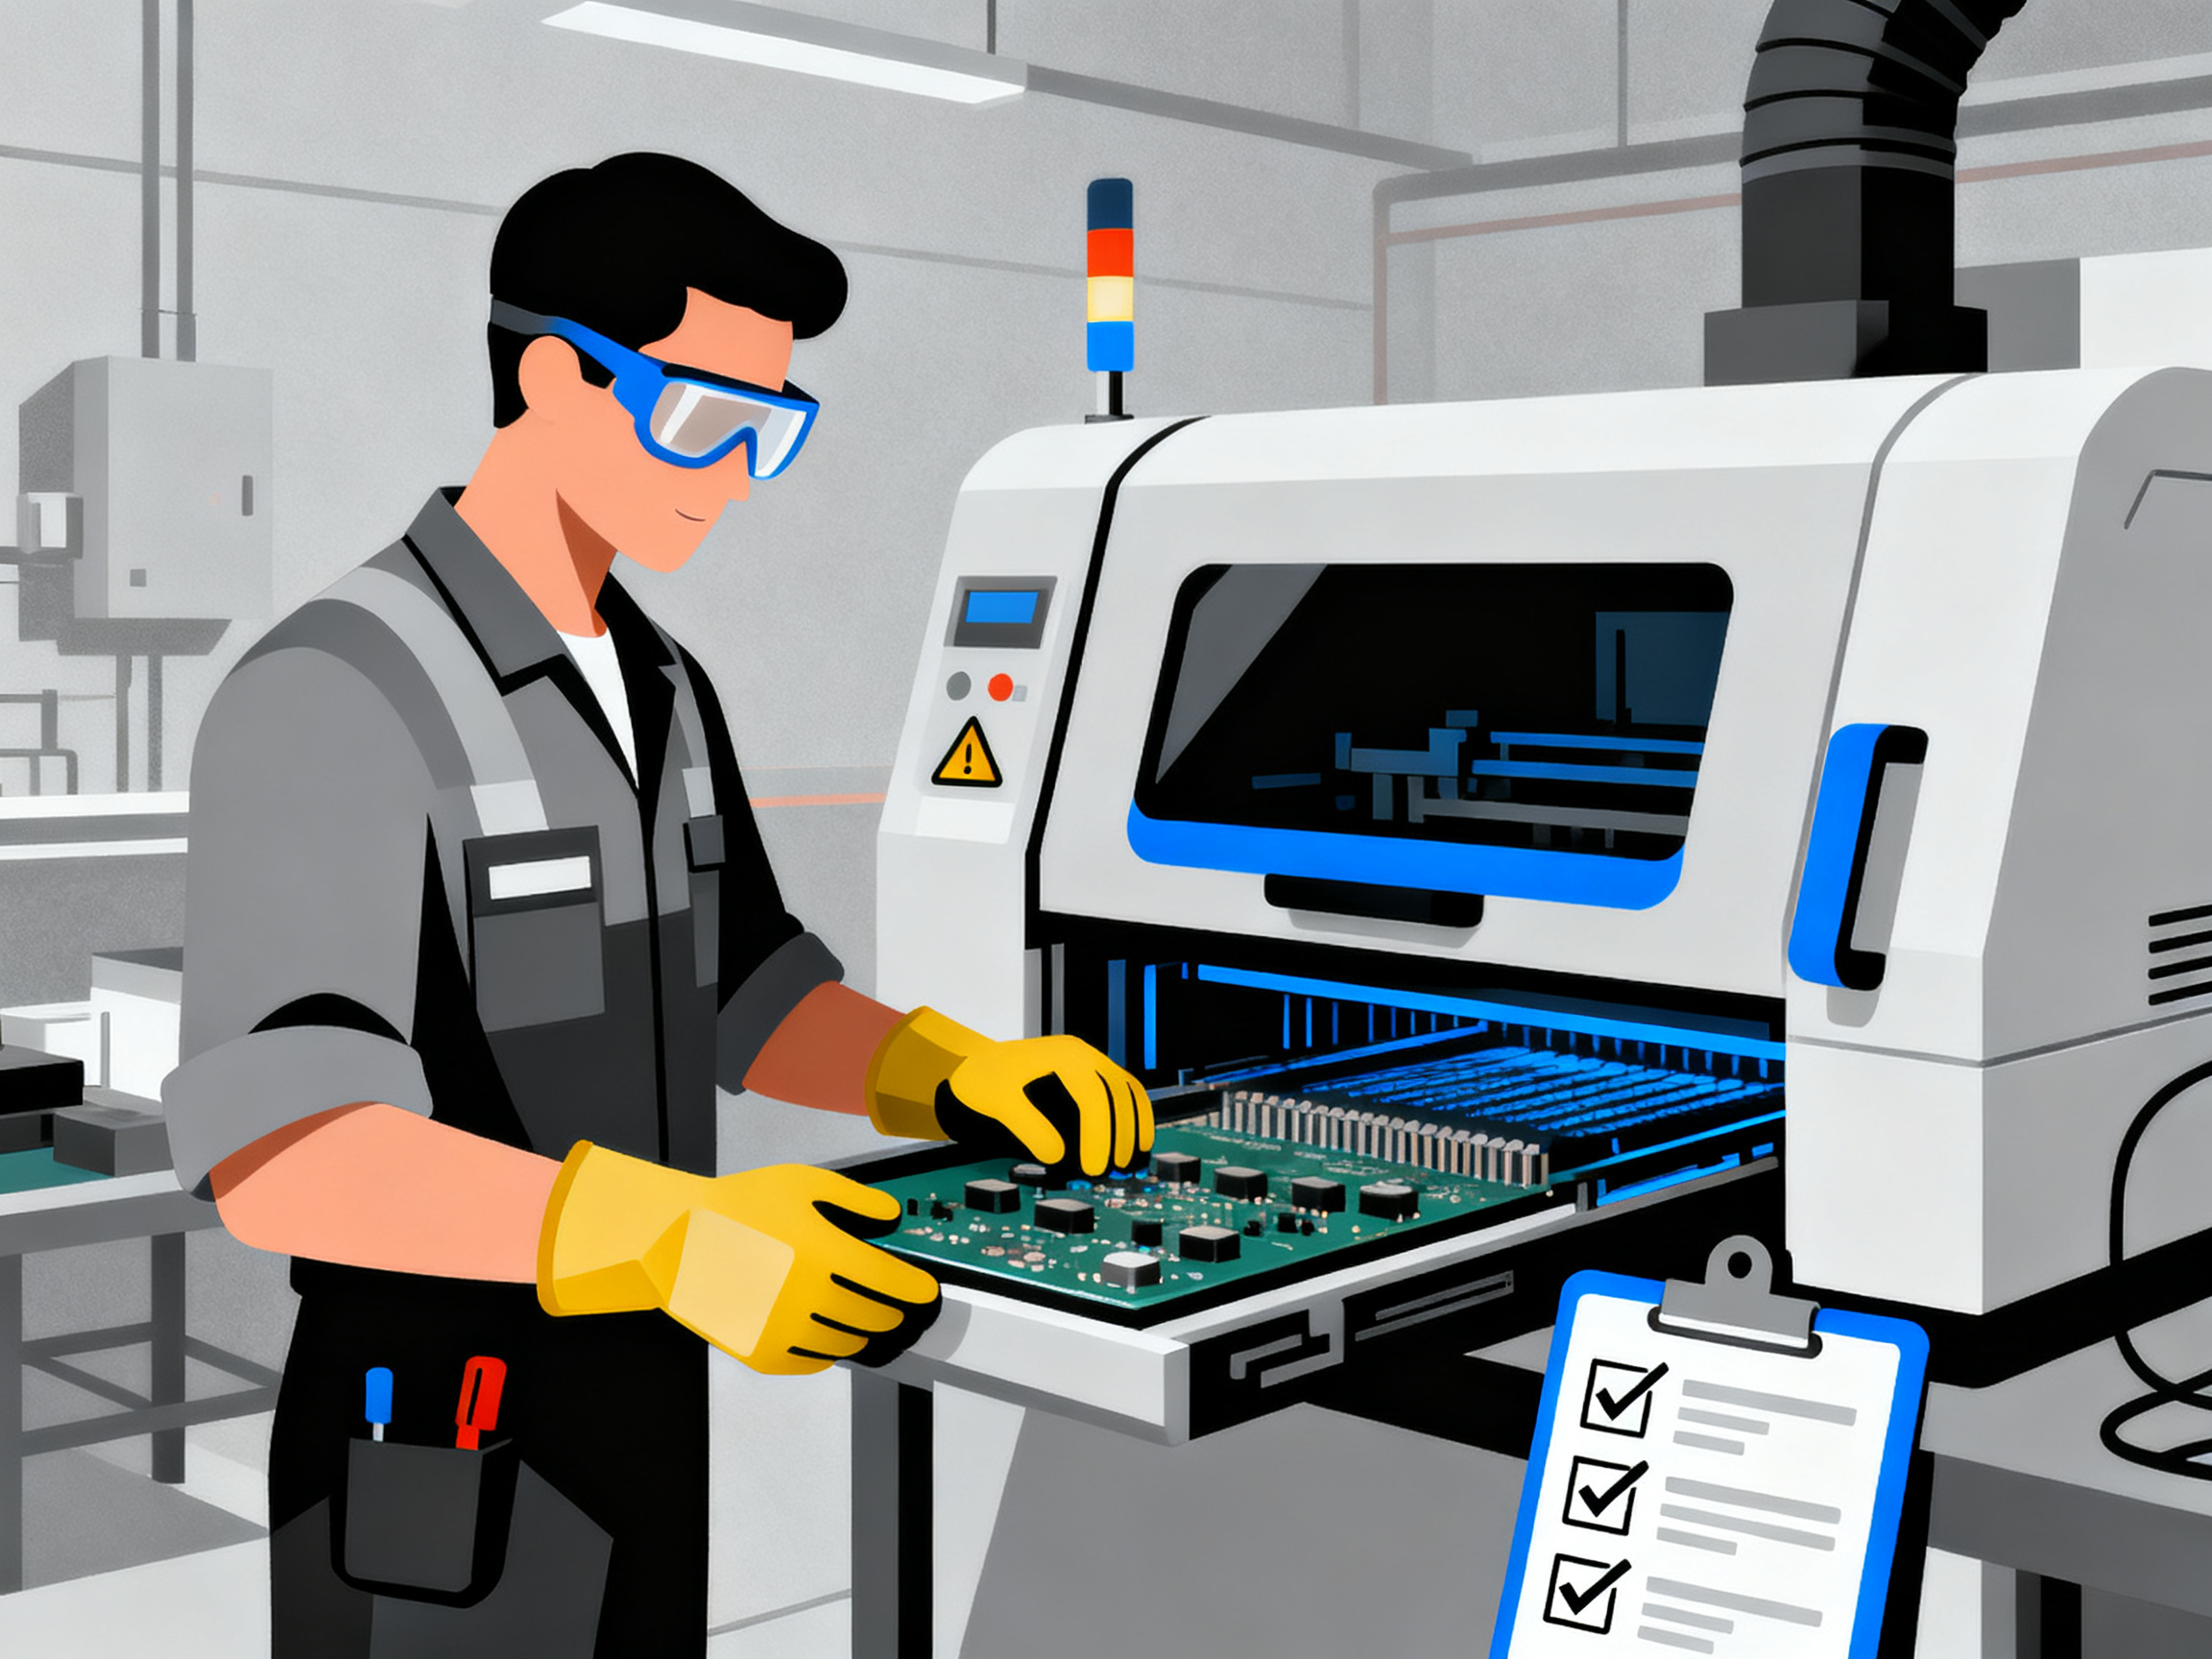
Gear up before you start. Here’s what you need:
- Heat-resistant gloves that can handle temperatures up to 300 degrees Celsius
- Safety glasses or goggles to protect against debris and flux splatter
- Dust masks or respirators when cleaning heating elements or filters
- Long-sleeved clothing to protect your arms
Safety Checklist: Pre-Maintenance Verification
| Safety Check | Required | Verified |
| :— | :—: | :—: |
| Oven cooled below 40 degrees Celsius | Yes | ☐ |
| Power disconnected and locked out | Yes | ☐ |
| LOTO tag applied with technician name | Yes | ☐ |
| Second person present and observing | Yes | ☐ |
| Heat-resistant gloves available | Yes | ☐ |
| Safety glasses/goggles on hand | Yes | ☐ |
| Dust mask or respirator ready | Yes | ☐ |
| Fire extinguisher (Class D) nearby | Yes | ☐ |
| Ventilation system operational | Yes | ☐ |
Pro Insight: Here’s something most people overlook. Seasonal temperature variations can affect how your oven behaves during startup and cooldown cycles. In summer, cooling takes longer because ambient temperatures are higher. In winter, condensation can form on sensors when you first open the oven doors. Account for these factors when planning maintenance windows, and always verify your LOTO procedures work correctly after any facility temperature shift.
Get these basics right, and everything else becomes much easier.
The Maintenance Routine: Daily, Weekly, and Monthly Schedules
Alright, let’s get into the actual doing part of all this. You’ve got your safety gear on, you understand how the oven works, and now you need a game plan for keeping it running. Here’s the thing though: most operators I talk to either do way too much or way too little. The sweet spot is a structured routine that catches problems early without wasting time on stuff that doesn’t matter yet.
Daily Maintenance Tasks
Every single day, you should walk through your oven before the first shift starts. This takes maybe 10 minutes if you know what you’re looking for.
Start with a visual inspection of the conveyor belt. Look for any debris caught in the belt links, check that it’s sitting centered on the track, and give it a quick feel to make sure the tension feels right. If the belt looks worn or feels loose, that’s a problem that gets worse fast.
Next, wipe down the oven exterior, especially around the entry and exit points where flux spatter tends to accumulate. Use a lint-free cloth and a mild cleaner. Don’t let gunk build up around the doors because that affects the seal when the oven heats up.
Also check your chain oil level if your oven has an automatic oiler. Low oil causes wear on the conveyor motor, and nobody wants to replace that prematurely.
Weekly Maintenance Tasks
Once a week, you’ll want to go a bit deeper. Run a cooldown cycle and let the oven cool completely, then open it up and vacuum out any flux residue and debris that’s collected inside. This is where that water-based, non-halogenated cleaner I mentioned earlier comes in handy for stubborn spots.
Check your filters too. Dirty filters are one of the most common causes of uneven heat distribution in high-volume production SMT Factory. If they’re clogged, replace them. While you’re at it, take a look at the heating element connections to make sure nothing’s come loose.
The entrance and exit rails need attention as well. Wipe them clean and check that boards are feeding through smoothly without catching.
Porada eksperta: Here’s a mistake I see all the time. Operators spray cleaner directly onto heating elements and then immediately close the oven. The problem? Residue bakes on during the next heating cycle and creates exactly the kind of carbon buildup you were trying to prevent. Always wipe elements completely dry after cleaning and let them air out for at least 30 minutes before heating.
Monthly Maintenance Tasks
Monthly is where things get more technical. This is when you verify your temperature calibration using a thermal profiler. Run a profile test board through and compare the results against your target curve. Most manufacturers recommend checking calibration every 6 to 12 months, but in high-volume operations, doing a quick verification monthly helps catch drift before it causes defects SMT Factory.
Clean your temperature sensors and thermocouples carefully during this session too. Contaminated sensors give false readings, and that leads to temperature profiles that look fine on paper but are actually causing problems on the line.
You should also add oil to the transmission system, check belt tension properly, verify exhaust pipes are clear, and test your UPS backup with a multimeter. Yes, all of it. This is why monthly maintenance takes longer than weekly.
Preventive Maintenance Checklist
| Task | Daily | Weekly | Monthly |
| :— | :—: | :—: | :—: |
| Conveyor belt visual inspection | X | | |
| Belt tension check | | | X |
| Exterior cleaning | X | | |
| Chain oil level check | X | | |
| Vacuum flux debris | | X | |
| Filter check/replacement | | X | |
| Heating element inspection | | X | |
| Thermocouple calibration | | | X |
| Thermal profiling verification | | | X |
| Exhaust system check | | X | |
| UPS verification | | | X |
| Transmission lubrication | | | X |
The more consistent you are with these routines, the less likely you are to face that Tuesday morning nightmare I described at the start. Trust me, your future self will thank you.
Deep Cleaning Procedures for Heating Elements and Sensors
Alright, let’s get into the part that most operators either avoid or do wrong. Deep cleaning your heating elements and sensors is where you can actually extend your oven’s life by years, but it requires patience and the right approach. Do it wrong and you’ll cause the exact problems you’re trying to prevent.
Heating Element Cleaning
The heating elements are the engine of your reflow oven, and they’re also the most delicate part when it comes to cleaning. Those precious metal thermocouples embedded in the heating assembly can be damaged if you look at them wrong, let alone scrub them with the wrong tools.
Here’s the step-by-step process that works:
-
Let the oven cool completely. I can’t stress this enough. We once had a new tech try to clean elements that were still warm. The cleaner evaporated instantly, leaving residue that baked on during the next run. Took three more cleaning cycles to fix that mess.
-
Use the right cleaner. Skip the generic degreasers sitting under your workbench. For lead-free environments, you need water-based, non-halogenated cleaners specifically designed for reflow ovens. Products like MicroCare Reflow Oven Cleaner or Decotron T300SA work well here. They’re designed to melt burned-on flux without corroding aluminum-based heating elements MicroCare.
-
Apply with a soft brush, never abrasive tools. Use a non-metallic brush to apply cleaner to stubborn spots. A soft nylon brush works great for flux buildup. Wipe everything dry with lint-free cloths.
-
Let it air out for at least 30 minutes before heating. This is crucial. Any residue left behind will carbonize during the next production run, and that’s when your temperature profiles start drifting for no obvious reason.
After implementing this four-step approach at our facility, we saw temperature uniformity improve noticeably within the first week. The difference showed up in our daily thermal profiling logs as tighter delta-T readings across zones.
Sensor and Thermocouple Maintenance
Your temperature sensors are only as good as their contact points. Oxidation buildup on thermocouple wires causes false readings, which means your profiles look correct but your actual temperatures are off.
For sensor maintenance, start by checking wire integrity. Look for any discoloration, corrosion, or signs of wear along the entire length of each thermocouple wire. Then clean oxidation from contact points using a contact cleaner specifically rated for high-temperature applications.
The real question everyone asks is: recalibrate or replace? Thermocouples typically need recalibration every 6 to 12 months during professional maintenance visits SMT Factory. But replacement is the move when calibration fails repeatedly, response time degrades noticeably, or you spot physical damage like bent wires or corrosion eating through the sheath.
Signs that heating elements themselves need replacement include inconsistent temperature profiles that won’t correct through recalibration, visible surface damage like cracks or warping, and that frustrating situation where you’re drawing more power but not reaching target temperatures anymore.
Oven Chamber Interior
The chamber walls collect flux spatter like nobody’s business. Use the same water-based, non-halogenated cleaners for the interior surfaces. The key thing here is ensuring nothing you use leaves residue that could contaminate lead-free solder joints.
Work from top to bottom. Clean the ceiling first, then walls, then floor. That way gravity helps you out instead of redistributing debris onto areas you already cleaned.
Take your time with this process. Rushing leads to missed spots, and missed spots lead to localized temperature variations that are a nightmare to diagnose later.
Temperature Calibration: Achieving Consistent Thermal Profiles
So you cleaned everything spotless. Your heating elements are gleaming, your sensors are pristine, and you’re feeling pretty good about yourself. But here’s the hard truth: cleaning alone won’t keep your reflow oven producing good boards. Without regular temperature calibration, all that effort means nothing when your actual thermal output doesn’t match what your profile says it’s doing.
Temperature calibration is the process of verifying that your oven’s actual thermal output matches the programmed profile. It’s the difference between thinking your oven is running at 245 degrees Celsius and actually knowing it is.
Why Calibration Directly Impacts Your Defect Rates
Let me share something from my experience at a facility running automotive electronics about two years ago. They were seeing tombstoning rates around 2.5% on their LED driver boards, which was way above their 0.5% target. They had already done extensive cleaning and replaced thermocouples, but the problem persisted.
The issue? Their calibration was last done 14 months prior. When we ran a thermal profiler through, we found that Zone 4 was running 8 degrees Celsius below setpoint. The delta-T across the board had crept up to 14 degrees, well above the 10-degree maximum for their components.
After recalibration, their tombstoning dropped to 0.3% within two production runs. The technician literally said, “We did everything right except the one thing that actually matters.” That stuck with me.
The Calibration Process Step by Step
Here’s how proper calibration verification works:
-
Use calibrated reference equipment. Your thermocouples and pyrometers need to be calibrated against traceable standards. Don’t trust your oven’s internal sensors alone. Attach fresh, calibrated thermocouples to a test board using high-temperature solder or certified thermal compound.
-
Run the profile test board. Send your profiled board through the oven just like production boards. Let it complete the full thermal cycle without interruption.
-
Compare results against target curves. Check your actual readings against your target profile. For lead-free SAC305 soldering, you’re looking for peak temperatures around 240 to 250 degrees Celsius, time above liquidus (TAL) between 45 and 90 seconds, and a delta-T below 10 degrees Celsius across the board JLCPCB.
-
Document everything. Record the date, operator, test equipment used, and all temperature readings. This documentation supports your quality assurance requirements and regulatory compliance for industries like automotive and medical SMT Factory.
Calibration Verification Table: Acceptable Temperature Tolerances by Zone
| Zone Type | Target Range | Acceptable Tolerance | Action Required if Out of Tolerance |
| :— | :— | :— | :— |
| Preheat Zones (1-3) | 120-160°C | ±5°C | Recalibrate zone controllers |
| Soak Zones (4-5) | 180-200°C | ±5°C | Check heating elements |
| Pre-Reflow Zone | ~210°C | ±5°C | Verify thermocouple contact |
| Peak Reflow Zone | 240-250°C | ±5°C | Full system calibration |
| Cooling Zone | -2 to -4°C/sec | ±1°C/sec | Check airflow and chillers |
How Often Should You Calibrate?
Most manufacturers recommend formal calibration every 6 to 12 months. But here’s my take based on running high-volume production: do a verification check monthly, even if you don’t do a full recalibration. Run a profile test board through and compare the readings. If you see drift greater than 3 degrees Celsius, it’s time for recalibration before problems show up on your production boards SMT Factory.
Critical applications like medical devices, aerospace, or automotive electronics should lean toward the 6-month interval. You really don’t want to explain to an auditor why your solder joints are unreliable on a device keeping someone alive.
Pro Insight: Seasonal temperature variations affect more than just your comfort. In summer, your facility’s ambient temperature is higher, which changes how your oven’s cooling systems perform. In winter, condensation forms on sensors when you first open the oven doors after a weekend shutdown. Account for these factors by running an extra verification profile after seasonal transitions. Many facilities in regions with extreme temperature swings run calibration checks every quarter specifically for this reason.
The connection between calibrated ovens and consistent output is real, and it’s measurable. When your profiles are locked in, your defect rates stay low, your rework costs drop, and your production runs smooth.
Now let’s talk about keeping your conveyor system running right, because a perfectly calibrated oven doesn’t help if your boards are getting jammed or fed at the wrong speed.
Conveyor System Maintenance: Belt Care and Speed Calibration
Your reflow oven could have perfect temperature zones from top to bottom, but if your conveyor system is dragging, your boards will still come out wrong. The conveyor belt is what actually delivers your PCBs through those carefully calibrated heating zones at the right speed. When that system drifts, everything downstream falls apart.
Belt Tension and Alignment
Belt tension affects how consistently your boards move through the oven. Too loose and the belt slips, causing uneven transit times that throw off your thermal profile. Too tight and you’re accelerating wear on the motor and chain, which means premature failures and expensive emergency replacements.
Here’s how to check it properly. With the oven powered down (and cooled, obviously), use a tension gauge if you have one, or do the old-school push test. Press down on the belt at its midpoint. You want about 1 to 2 centimeters of deflection under moderate pressure. If it’s sagging more than that, tighten it up. If it doesn’t budge at all, ease off the tension.
Alignment matters just as much. A misaligned belt will track toward one side, rubbing against the rails and causing wear on one edge. Watch a board travel through. If it hugs the left rail the whole way, your alignment is off. Most ovens have adjustment screws at both ends of the conveyor assembly. Make small tweaks, half a turn at a time, and run test boards until the tracking looks centered.
Keeping the Belt Clean
Flux spatter doesn’t just land on your heating elements. It cakes onto the belt too, and that buildup causes boards to stick, stall, or get pushed off-center. A dirty belt is also a contamination risk for your lead-free assemblies.
Clean the belt every week minimum, more often if you’re running high-activity paste. Use a soft brush and your water-based cleaner to work along the full length. Don’t forget the underside where gunk collects out of sight. I learned that one the hard way at a facility that kept getting mysterious contamination on solder joints. Turned out to be a thick crust of baked flux on the hidden belt surface. Took two full cleaning cycles to sort it out.
Speed Calibration Verification
Prędkość przenośnika directly controls your time-above-liquidus. Run the belt too fast and your joints don’t hit peak temperature long enough. Too slow and you’re scorching components or exceeding soak limits.
Use a tachometer to verify belt speed against your programmed setting. Run three test measurements across the full belt length and average them. You’re looking for accuracy within 1% of your target. If you don’t have a tachometer, time a board traveling between two fixed points and calculate the speed manually.
Most modern ovens display speed on the control panel, but those readings drift too. Trust your measurement tools over the display.
Conveyor Maintenance Checklist
| Check | Frequency | What to Look For | Action if Problem Found |
| :— | :— | :— | :— |
| Belt tension | Weekly | Sagging, slipping, or excessive tightness | Adjust tension screws at conveyor ends |
| Belt alignment | Weekly | Tracking to one side, rubbing rails | Adjust tracking screws, half turn increments |
| Belt cleaning | Weekly | Flux buildup, debris, contamination | Brush with water-based cleaner, rinse thoroughly |
| Chain oil level | Daily | Below minimum mark on sight glass | Add high-temperature chain oil |
| Motor noise | Weekly | Grinding, clicking, or irregular sounds | Check bearings, lubricate or replace motor |
| Speed verification | Monthly | >1% deviation from target | Recalibrate speed controller or check encoder |
| Rail condition | Monthly | Wear grooves, sharp edges | Sand smooth or replace rails |
| Sprocket teeth | Quarterly | Worn or missing teeth | Replace sprocket assembly |
When Things Go Wrong
A client in the automotive sector called me about intermittent tombstoning that appeared only during their second shift. First shift ran perfectly. After two days of thermal profiling that showed nothing wrong, we checked the conveyor motor. The bearing was failing, causing speed fluctuations that only showed up after the motor heated up from extended operation. Once we replaced it, the problem vanished.
Moral of the story? Sometimes the oven isn’t the problem. Sometimes the thing moving your boards through it is.
Troubleshooting Common Issues: Quick Diagnosis and Solutions
Even with rock-solid maintenance routines, things still go wrong sometimes. That’s just manufacturing. The difference between a minor hiccup and a full production shutdown often comes down to how fast you can figure out what’s actually broken. Let’s walk through the most common problems you’re likely to encounter and how to tackle them before they spiral out of control.
Temperature Uniformity Problems
If your thermal profiler is showing hot or cold spots that weren’t there before, your first instinct should be to check calibration drift rather than heating element failure. Drift is way more common and way easier to fix.
Run a quick verification profile on your test board. If Zone 3 is reading 7 degrees off from setpoint but the rest of the oven looks fine, you probably just need recalibration. If multiple zones are drifting together or you can’t bring them back into spec after adjustment, then you’re looking at thermocouple degradation or possibly a failing heating element SMT Factory.
One thing I’ve noticed over the years: temperature problems often show up in your production data before they show up on the profiler. If your defect logs are starting to show clusters in one area of the board, dig into those thermal profiles before you do anything else.
Conveyor-Related Issues
Boards tilting, catching, or feeding unevenly usually point to belt or motor problems. Before you start replacing parts, watch a board travel through the full cycle. Does it happen at the same point every time? That’s usually a belt issue or debris caught in the rails. Does it happen intermittently with no pattern? More likely a motor or encoder problem.
I worked with a facility last year that kept having boards shift slightly during reflow. They replaced the belt, adjusted tension three times, and were about to swap the motor. Turns out, flux had accumulated in one specific spot on the entrance rail and was causing micro-shifts. Cleaned it out once, problem gone. Total cost: zero dollars. Total time wasted before the right diagnosis: two days.
Wady lutowania
When wetting problems, bridging, or tombstoning suddenly appear on boards that were passing yesterday, your first question should be: what changed? New paste lot? Different operator? Ambient temperature shift? These variables matter more than most people realize.
If you can’t tie defects to a specific change, run a full thermal profile immediately. Compare it to your baseline. Look especially at your time above liquidus. Too short and you get cold joints. Too long and you risk oxidation plus component damage. The sweet spot for SAC305 is 45 to 90 seconds above 217 degrees Celsius JLCPCB.
Porada eksperta: Keep a “defect diary” even when things are running smooth. Note your profile settings, paste lot numbers, ambient conditions, and any changes you make. When problems pop up, that history is worth its weight in gold. You’d be surprised how often the root cause shows up when you compare Tuesday’s settings to Wednesday’s problems.
Troubleshooting Quick Reference
| Symptom | Probable Cause | Recommended Action |
| :— | :— | :— |
| Hot spots on one side of board | Heating element failure or zone calibration drift | Run thermal profiler, recalibrate or replace element |
| Cold joints appearing randomly | Thermocouple degradation or poor sensor contact | Verify thermocouple integrity, recalibrate or replace |
| Boards tilting during transit | Belt wear, debris on rails, or motor issues | Inspect belt and rails, clean thoroughly, check motor |
| Inconsistent conveyor speed | Worn chain, motor bearing failure, or encoder issues | Measure actual speed, replace worn components |
| Solder bridging on fine-pitch components | Peak temperature too high or TAL too long | Adjust profile, verify calibration |
| Tombstoning on resistors/capacitors | Uneven heating or wrong ramp rate | Check delta-T across board, verify soak zone |
| Voids in BGA joints | Pressure buildup from contamination or incorrect profile | Verify cleaning, check profile against paste specs |
| Intermittent defects, no pattern | Condensation, humidity issues, or electrical noise | Check facility conditions, inspect grounding |
When to Call for Service
Some problems need professional help. If your control board is throwing error codes you can’t clear, if you’ve replaced thermocouples twice in a year and drift keeps coming back, or if you notice the oven drawing significantly more power than usual without temperature changes, it’s time to contact your equipment manufacturer or a certified technician. Trying to DIY deep electrical repairs on a $50,000+ machine usually ends up costing more than just calling someone from the start.
The key is knowing the difference between a fix you can handle in-house and something that needs expertise. When in doubt, document what you’ve tried and reach out. That’s what the support teams are there for.
Extending Equipment Life: Best Practices for Long-Term Care
Let’s talk about keeping your reflow oven running strong for years, not just months. A well-maintained reflow oven can last 10 to 15 years, with some high-end industrial units pushing toward 20 years under ideal conditions Chuxin SMT. That’s a massive return on your initial investment, and it all comes down to what you do (or don’t do) today.
Building a Comprehensive Preventive Maintenance Program
The research backs this up hard. Factories implementing regular maintenance routines slash sudden reflow oven failures by up to 80%. That’s not a typo. When your maintenance is consistent, your equipment behaves predictably, your defect rates stay low, and your production runs smooth.
But here’s what most facilities miss: preventive maintenance isn’t just about cleaning and calibrating. It’s about tracking patterns over time so you can predict failures before they happen. Modern reflow ovens with integrated sensors and IoT connectivity make this easier than ever in 2026. Systems like KIC’s real-time monitoring platforms track temperature consistency, conveyor speed, and component wear continuously, flagging anomalies before they become problems SMT Factory.
We’ve started using predictive analytics at our facility, and honestly, it’s changed how we think about maintenance. Instead of waiting for something to break, we’re scheduling replacements based on actual wear data. The goal is zero unplanned downtime, and it’s actually achievable.
Environmental Factors That Affect Longevity
Your oven doesn’t exist in a vacuum. The environment around it matters huge for how long it lasts.
Power quality is often overlooked. Voltage fluctuations stress heating elements and control boards. If your facility has unstable power, consider investing in UPS systems and voltage regulators. The cost is nothing compared to replacing a fried control board on a $100,000 oven.
Air quality affects heating element lifespan too. Dust, flux fumes, and airborne contaminants settle inside the oven and accelerate wear. Proper ventilation and regular filter maintenance aren’t just about safety; they’re about protecting your investment.
Temperature stability in your facility matters as well. Extreme ambient temperature swings force your cooling systems to work harder, and condensation during seasonal transitions can damage sensors if you’re not careful. In regions with harsh winters or summers, running extra verification profiles after major temperature shifts is just smart practice.
Documentation and Capital Planning
Keep detailed logs of everything. I’m talking maintenance dates, calibration results, parts replaced, and any anomalies observed. This data does double duty: it helps you spot trends for predictive maintenance, and it gives you hard numbers for capital planning.
When you can show management that your heating elements have been running for 8,000 hours and are starting to show increased power consumption, replacing them becomes a budgeted expense instead of an emergency purchase. That’s the difference between a planned 4-hour maintenance window and a 3-day production shutdown.
Most manufacturers recommend a comprehensive inspection during annual or bi-annual reviews where critical components get replaced as part of normal service life cycles, avoiding the need for entirely new equipment Chuxin SMT.
Cost-Benefit: Maintenance vs. Replacement
| Scenario | Annual Maintenance Cost | Downtime Risk | Typical Lifespan | 10-Year Total Cost |
| :— | :—: | :—: | :—: | :—: |
| Minimal maintenance | $2,000-$5,000 | High (frequent failures) | 5-7 years | $70,000-$150,000 (including emergency repairs and early replacement) |
| Standard preventive maintenance | $8,000-$15,000 | Low | 10-12 years | $90,000-$160,000 |
| Comprehensive PM with predictive analytics | $15,000-$25,000 | Minimal | 15-20 years | $170,000-$270,000 (includes monitoring systems but avoids early replacement) |
The math gets interesting when you factor in downtime costs. A single unplanned failure during peak production can cost $10,000 to $50,000 in lost output, scrap, and expedited repairs. Facilities running high-volume lines for automotive or medical customers literally cannot afford unexpected shutdowns. The premium for comprehensive maintenance pays for itself the first time it prevents a failure.
Training Your Team
All the maintenance schedules and analytics tools in the world won’t help if your team doesn’t know how to use them. Investing in proper training for maintenance personnel is non-negotiable for long-term equipment health.
Look into manufacturer-specific courses like BTU-101 and BTU-104 for furnace operation and calibration, or IPC certification programs for broader electronics assembly skills BTU International. SMTA webinars and industry certifications keep your technicians current on best practices and emerging technologies.
The best SMT facilities treat maintenance as a partnership between operations, maintenance, and engineering, not a service that one department provides to another. When everyone shares responsibility for equipment health, you get better outcomes across the board.
Bottom line: the effort you put into maintaining your reflow oven today directly determines how well it serves you five, ten, even fifteen years down the road. It’s not exciting work, but it’s the kind of work that keeps your production line running and your customers happy.
References and Further Reading
For readers looking to deepen their understanding of reflow oven maintenance and SMT best practices, the following resources provide valuable additional information:
Industry Standards and Guidelines
- IPC-A-610 – Acceptability of Electronic Assemblies: The definitive standard for visual acceptance criteria of assembled electronic circuits, including solder joint quality.
- J-STD-001 – Requirements for Soldered Electrical and Electronic Assemblies: Establishes workmanship criteria for electronic assemblies and solder connections.
- IPC-7530 – Guidelines for Temperature Profiling on SMT Assembly Process: Provides detailed guidance on establishing and maintaining thermal profiles.
Equipment Manufacturer Documentation
Most reflow oven manufacturers provide detailed maintenance manuals and calibration procedures. Always reference your specific equipment documentation for:
- OEM-recommended maintenance intervals
- Approved cleaning products and procedures
- Calibration procedures unique to your model
- Spare parts recommendations and part numbers
Online Resources and Industry Publications
| Resource | Focus Area | URL |
| :— | :— | :— |
| SMT International | Industry news and technical articles | smtinternational.com |
| IPC官方的 | Standards development and training | ipc.org |
| SMTA News | Surface mount technology updates | smta.org |
| Reflow Oven Blog | Practical maintenance tips | example.com/reflow-blog |
Professional Training and Certification
Consider these professional development opportunities:
- IPC Certification Programs: Hands-on training for soldering and inspection technicians
- Manufacturer-Specific Training: Direct courses from your oven manufacturer
- SMTA Certification: Surface mount technology certification programs
- Online Courses: Platforms like Coursera and Udemy offer electronics manufacturing courses
Recommended Equipment for Maintenance
Having the right tools makes maintenance faster, safer, and more effective:
- Thermal profiler with calibrated thermocouples
- Infrared thermometer for spot checks
- Belt tension gauge
- Tachometer for conveyor speed verification
- High-temperature multimeter
- Lint-free cloths and soft brushes
- Water-based, non-halogenated cleaners
- Heat-resistant gloves (rated to 300°C minimum)
- Calibration certificates traceable to national standards
Glossary of Key Terms
Delta-T: The temperature difference between the hottest and coldest points on a PCB during reflow. For lead-free assemblies, this should typically remain below 10°C.
Dwell Time (TAL): Time Above Liquidus – the period during which the solder paste remains in a molten state. For SAC305 lead-free solder, this is typically 45-90 seconds.
Profile: A graph showing temperature versus time through the reflow process, including ramp rates, soak temperatures, and peak temperatures.
Thermocouple: A temperature sensor consisting of two different metals joined at one end, producing a voltage proportional to temperature differences.
Time Above Liquidus (TAL): See Dwell Time.
Szybkość rampy: The speed at which temperature increases or decreases during heating or cooling phases, typically measured in degrees Celsius per second.
Soak Zone: The portion of the reflow profile where temperature is held relatively constant to allow even heating of components and elimination of solvents.
This reference section provides a starting point for further exploration. Bookmark these resources and revisit them as your maintenance knowledge grows.