



Yayınlandı: 25 August 2026
Son Güncelleme: 25 August 2026
Okuma süresi: 10 dakika
Reviewer: Simon Scrapes, Founder
Yayınlandı: 25 August 2026
Okuma süresi: 10 dakika
Reviewer: Simon Scrapes, Founder
Picture this. It’s a Tuesday morning. You’ve got a full production schedule, boards piling up, and suddenly your SMT line grinds to a halt. The culprit? Your loader just choked on a magazine and now nothing’s moving.
If you’ve worked in electronics manufacturing, you know exactly how fast a loader problem becomes a line-wide disaster. We’re talking about $500 to $2,000 per hour in lost output, and for semiconductor work, that number jumps to $1.1 million per hour when you factor in cleanroom restart costs and missed deliveries. That’s not a typo.
SMT loaders are the workhorses that keep your line going. They pull PCBs from magazines and feed them into the start of your production line, pushing each board through to printers, conveyors, pick-and-place machines, and reflow preparation before they head out to collection. Without these machines running smoothly, your whole operation comes to a standstill.
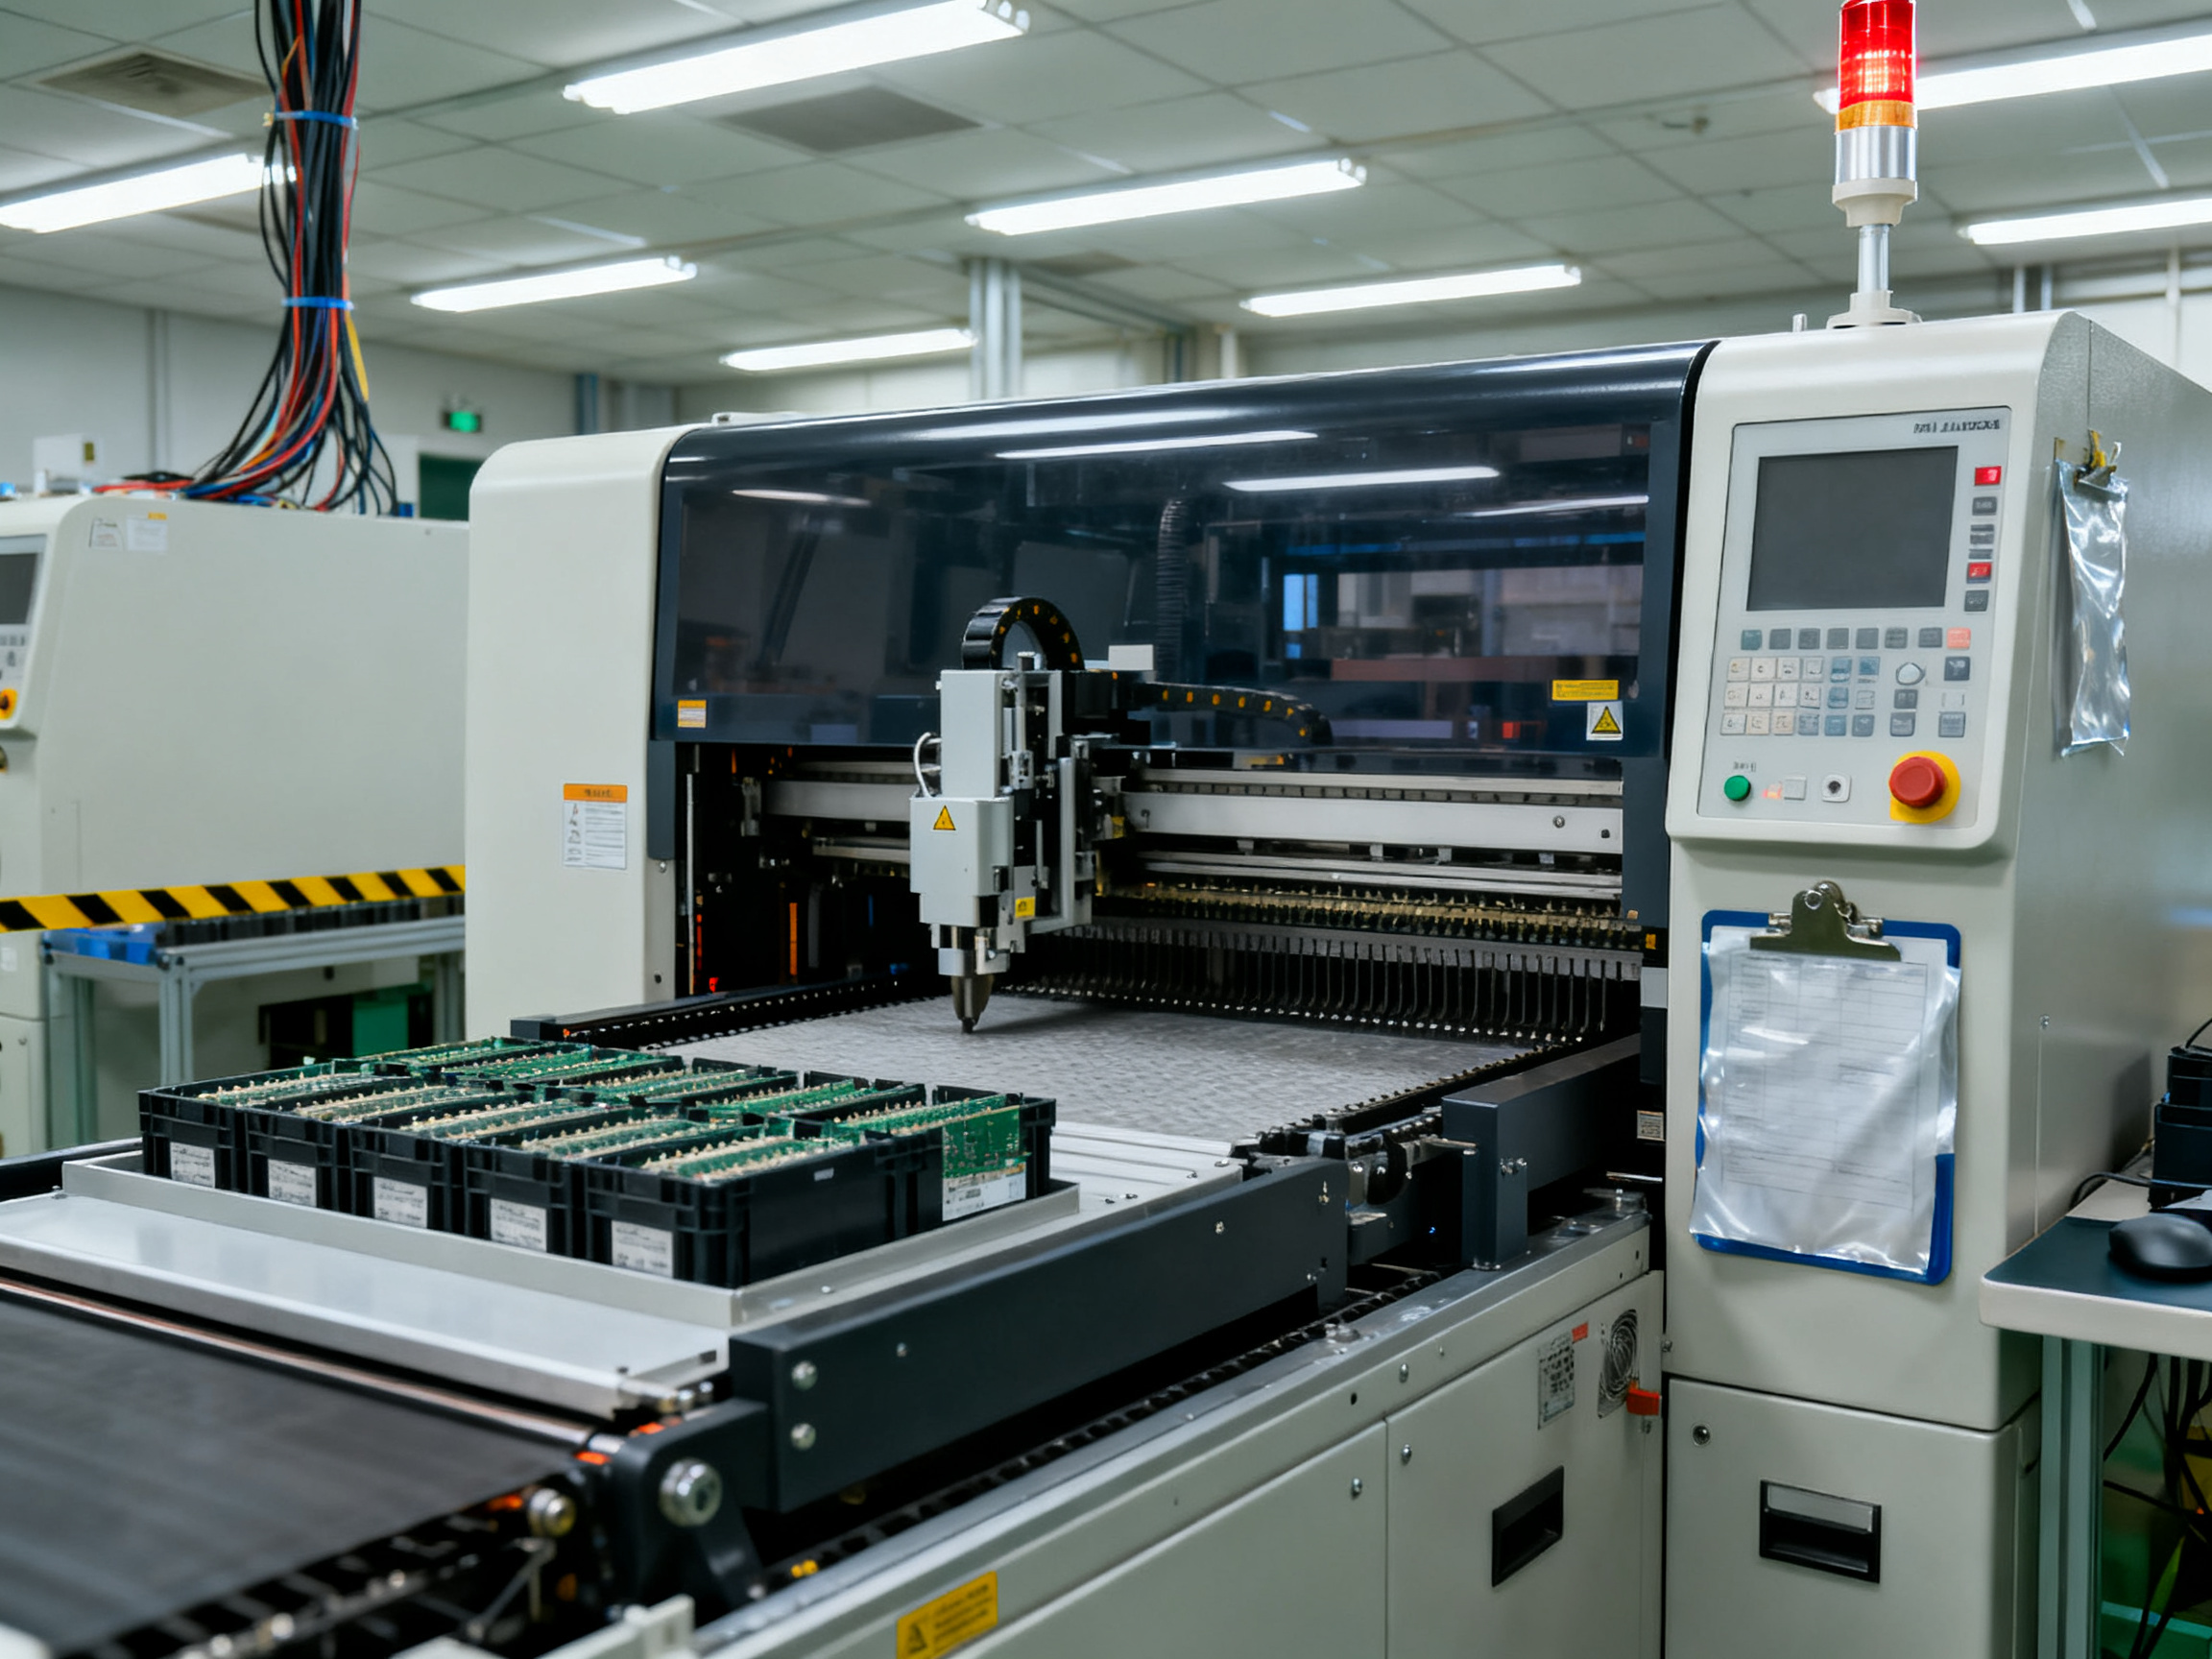
Here’s what poor loader maintenance actually costs you: misfeeds that damage boards, jams that stop the line, component-placement defects, and throughput loss that ripples through your entire operation. This matters whether you’re building consumer gadgets, semiconductors, car electronics, or aerospace components. Every industry that relies on SMT production feels the pain when loaders fail.
This guide covers how SMT loader maintenance works, how it is done, what maintenance mode means, and how loader tasks differ from unloader tasks. Everything here comes from manufacturer documentation, industry standards, and hands-on experience from real production floors.
Let’s get your loader running right.
Author Expertise
Author: [Author Name], [Verified Role/Credentials].
[Author bio placeholder: Complete this section with the assigned author’s verified credentials and relevant SMT equipment, electronics manufacturing, preventive maintenance, or production-line automation experience. Example: “John has spent 12 years in electronics manufacturing, specializing in SMT line optimization and preventive maintenance planning for high-volume production environments.” Remove this placeholder before publication.]
What SMT Loader Maintenance Means
SMT loader maintenance covers all the preventive and corrective work required to keep your PCB loading, magazine indexing, conveyor transfer, sensors, actuators, and line communication running reliably shift after shift.
Think of it as keeping four interconnected systems in shape. First, there’s the mechanical side: magazine lift platforms, pusher mechanisms, conveyor belts, guide rails, and ball screws that all physically handle your boards. Second, the sensors: photoelectric sensors that detect board presence, magnetic sensors that track magazine position, and origin sensors that confirm the pusher has returned home. Third, the pneumatic or motorized actuators that drive the lift, push, and transfer motions. Fourth, the communication layer: SMEMA signals or the newer Hermes protocol that coordinate board handoffs with downstream equipment like your reflow oven or pick-and-place machine.
Now, what smt loader maintenance actually involves comes down to five activity types. Routine inspection means visually checking for wear, debris, and proper operation before each shift. Preventive service means scheduled lubrication, belt tensioning, and sensor cleaning to stop problems before they happen. Calibration or adjustment means fine-tuning rail width, pusher stroke, and sensor sensitivity to match your board specs. Troubleshooting means diagnosing why something went wrong, like a jam or a false sensor alarm. Component replacement means swapping out worn belts, failed sensors, or damaged rails before they cause line stoppages.
Here’s the thing though: loader maintenance doesn’t happen in isolation. Your loader is the first link in your SMT production line. If it feeds boards incorrectly, your pick-and-place accuracy suffers. If sensor issues cause misfeeds, you get placement defects that ripple through to final inspection. For lead-free assembly equipment running dense BGA and QFN components, even small variations in board handling can create soldering problems downstream.
So when we talk about what smt loader maintenance means, we’re really talking about protecting your entire operation. A well-maintained loader means consistent board presentation, fewer jams, better smt production line uptime, and less rework from handling damage.
Major SMT Loader Subsystems and Maintenance Purpose
| Subsystem | Maintenance Purpose |
|—|—|
| Magazine lift mechanism | Ensures stable platform height and reliable origin sensing |
| Pusher assembly | Delivers accurate, repeatable board push into the conveyor |
| Conveyor/transport chain | Provides smooth, controlled board transfer between stations |
| Photoelectric sensors | Detects board presence, position, and transfer completion |
| Guide rails | Maintains correct board alignment and prevents skewing |
| Ball screw and linear bearings | Reduces friction and enables precise pusher motion |
| SMEMA/Hermes interface | Coordinates board handoff with downstream equipment |
| HMI and control system | Enables mode selection, diagnostics, and alarm recovery |
This table shows why a solid smt loader maintenance plan matters across the whole system. Skip the ball screw lubrication, and your pusher starts drifting. Ignore the guide rails, and boards start skewing and jamming. Each subsystem depends on the others to keep your line moving smoothly.
How SMT Loader Maintenance Works Across the Line
Your SMT loader doesn’t work alone. It’s locked into a carefully choreographed dance with every machine downstream, and understanding that flow is key to knowing why maintenance matters so much.
Here’s how a typical cycle works. First, your loader detects an empty magazine on the lift platform using magnetic sensors. The platform rises to the correct height, stopping precisely when an origin sensor confirms position. Then the pusher assembly extends, sliding each board off the magazine rails and onto the main conveyor. The conveyor moves the board forward until a photoelectric sensor confirms the board has cleared, triggering the SMEMA handshake with your pick-and-place machine. Your downstream equipment responds with a “Machine Ready” signal only after it has positive control, and only then does the next board start its journey.
That whole sequence depends on four things staying reliable.
Mechanical motion means your ball screws, guide rails, and pusher mechanism move smoothly without drift or stiction. Sensor accuracy means every photoelectric and magnetic detector reads correctly, without dust interference or misalignment. Pneumatic or motor performance means your cylinders and drives deliver consistent stroke and force. Communication means your SMEMA signals (or the newer Hermes protocol if you have updated equipment) actually reach your downstream machines and trigger the right responses.
When any of these four areas degrades, your line feels it immediately. Boards skew, causing placement defects. False sensor signals create phantom jams that stop your pick-and-place unnecessarily. Communication glitches mean your reflow oven sits idle waiting for a board that never comes.
SMT Loader Operating Sequence and Failure Risks
| Step | Component | Failure Risk | Maintenance Check |
|—|—|—|—|
| Magazine detection | Magnetic sensor | Missed detection, false full signal | Clean sensor, verify mounting |
| Platform lift | Cylinder, origin sensor | Incomplete lift, overshoot | Check stroke switch, lubricate shaft |
| Board push | Pusher assembly, ball screw | Push drift, incomplete stroke | Lubricate weekly, check push distance |
| Conveyor transfer | Belt, chain, photoelectric | Board jams, misread timing | Check tension, clean sensor daily |
| SMEMA handshake | Signal interface | Line stops, no handoff | Test upstream/downstream signals |
Real-world impact is measurable. Poor loader health drops first-pass yield because boards arrive misaligned for pick-and-place. It tanks mean time between failures (MTBF) as small problems compound into big ones. Changeover speed suffers when operators must baby-sit sticky mechanisms. And line utilization drops because your $1.1 million per hour semiconductor line sits waiting on a $500 sensor that gave false readings.
So when we talk about what smt loader maintenance means, we’re really talking about protecting your entire operation from the first board to the last.
Daily SMT Loader Checks Before Production Starts
Before I let a loader anywhere near my production schedule, I run through a quick inspection. Takes about 10 minutes, and it has saved me from countless mid-shift disasters.
Here’s my shift-start routine, and I’d recommend making it yours too.
Visual Checks First
I start by walking the machine. No power tools, no hands-on yet. Just looking.
Look at the machine body and clean off any dust, tape scraps, solder residue, or debris sitting on the loader surface. That gunk finds its way into guide rails and sensors fast. Check that your magazine slots are straight and not warped. A bent magazine will skew boards every single time, and you’ll spend hours chasing phantom placement errors.
Next, eyeball the rail width. It needs to match your board thickness. Too tight, and boards drag. Too loose, and they skew sideways during transfer. I also check the conveyor belts for cracks, tears, or excessive glossiness that signals wear.
Look at the pusher plate for bends or wear marks. Check your board support mechanisms. Verify safety covers are in place and E-stops haven’t been triggered or damaged. Finally, scan for any visible cable damage or air-line cracks before you touch anything.
Functional Checks Second
Now power up and run a test cycle. Watch the magazine lift move smoothly through its full travel. Test your board presence sensors by placing a PCB in position and confirming the machine detects it. Check entry and exit sensors, verify pusher stroke completes fully, and confirm conveyor transfer happens without hesitation.
Watch the tower light and HMI status. Any pending alarms or strange readings? Fix those before you run product.
High-Reliability Board Checks
For aerospace or automotive work, I pay extra attention to scratch prevention. Inspect rails and contact points for burrs that could damage board edges. Check that belt tension keeps transfer speed stable, and watch for any pattern of board skew on your first few pieces.
Expert Tip: When loader faults keep appearing at shift start, experienced line techs know to check magazine alignment, rail width, sensor cleanliness, push stroke timing, and E-stop reset state first. Nine times out of ten, one of those five is the culprit.
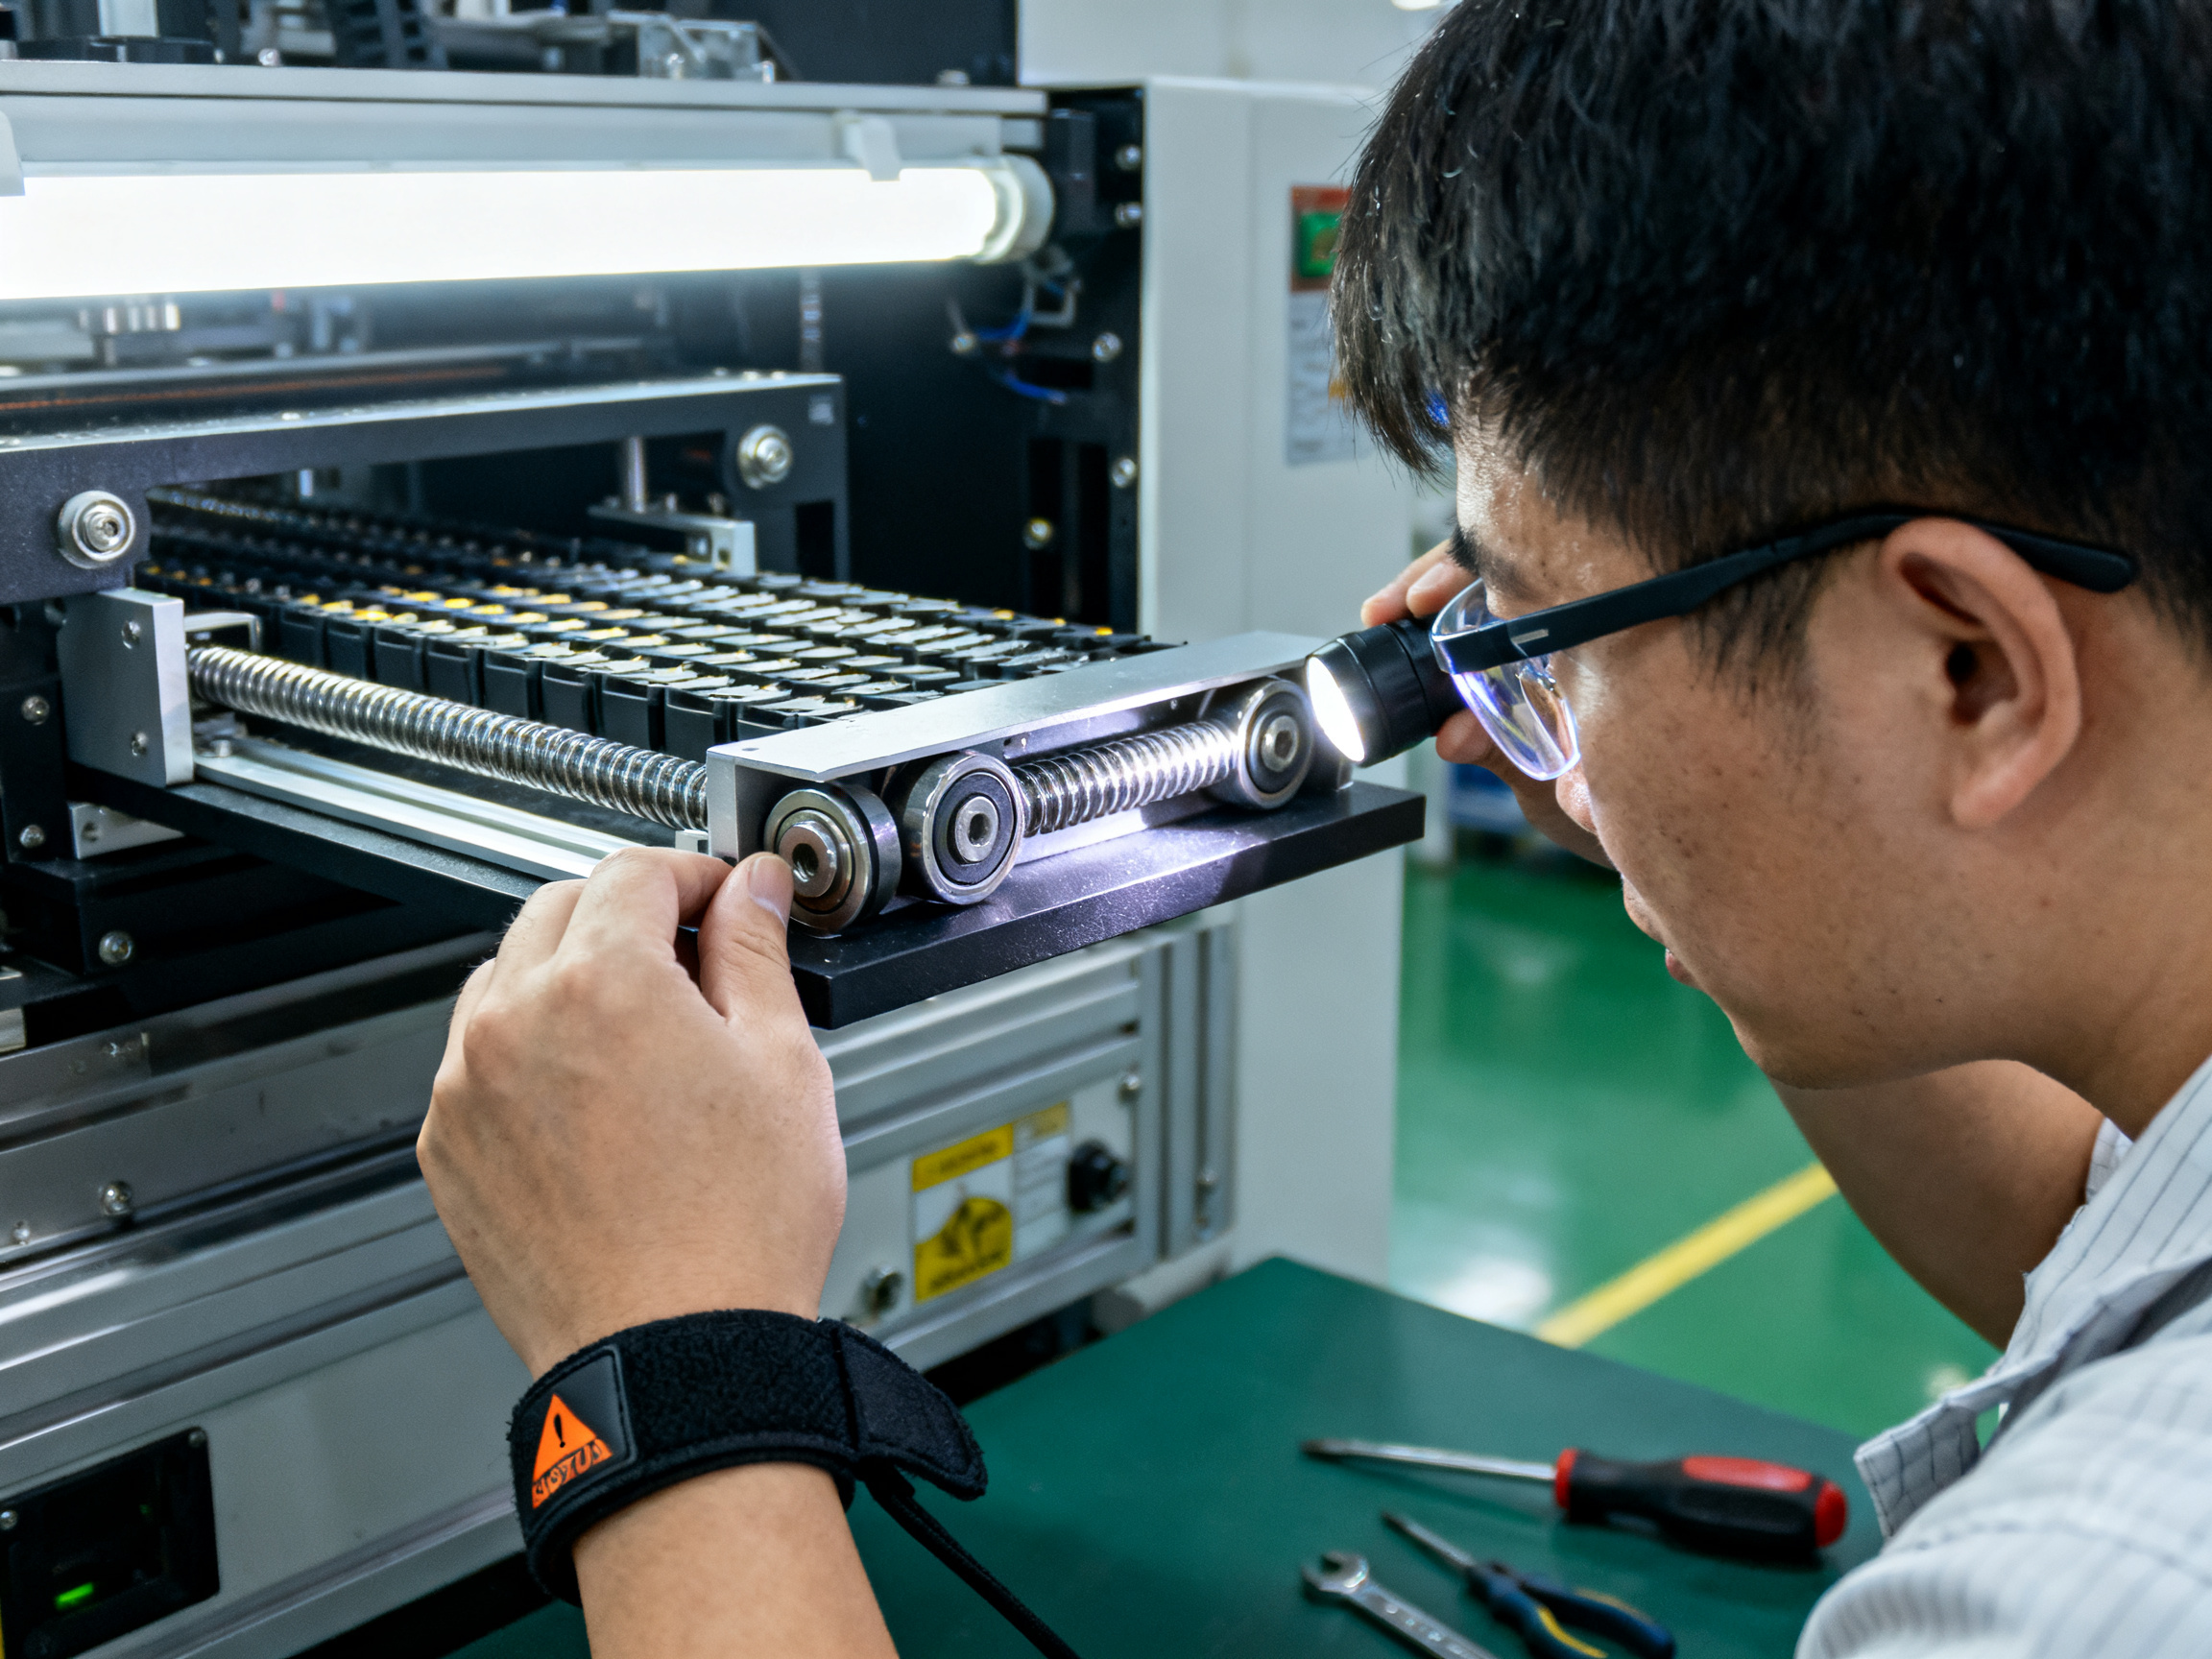
Daily SMT Loader Inspection Checklist
| Check Item | Acceptable Condition | Action if Failed | Tech Initials |
|—|—|—|—|
| Machine surface cleanliness | No debris, dust, or contamination | Clean before proceeding | |
| Magazine condition | Straight slots, no warpage | Replace or repair magazine | |
| Rail width | Matches board thickness spec | Adjust rail positioning | |
| Conveyor belts | No cracks, tears, or excessive wear | Replace belt | |
| Pusher plate | Straight, no bends or damage | Replace or repair | |
| Safety covers/E-stops | All in place, functional | Repair before operation | |
| Cable/air-line condition | No visible damage or cracks | Replace damaged sections | |
| Magazine lift movement | Smooth, complete travel | Check cylinder and sensors | |
| Board presence sensors | Detects PCB correctly | Clean or realign sensor | |
| Entry/exit sensors | Triggers at correct position | Verify alignment | |
| Pusher stroke | Completes full extension/return | Check ball screw and limits | |
| Conveyor transfer | Smooth board movement | Adjust tension, check motor | |
| Tower light/HMI status | No alarms, normal readings | Diagnose fault before running | |
Run that checklist every morning. Your pick-and-place machine will thank you.
Using SMT Loader Maintenance Mode Safely
Maintenance mode on your SMT loader is a game-changer for diagnostics and service work. It lets you run individual functions manually without cycling the whole automatic sequence. Think of it as taking your loader off autopilot so you can test each system on your terms.
Here’s what maintenance mode typically lets you do on most loader models. You can raise and lower the magazine lift platform manually. You can extend and retract the pusher assembly step by step. You can run the conveyor independently. You can test clamp operation. You can verify sensor signals without triggering a full transfer. And you can test alarm and tower light functions.
That last point matters more than you might think. When your downstream pick-and-place machine keeps reporting a board wasn’t handed off, being able to manually trigger the SMEMA handshake and watch the downstream response tells you instantly whether the problem is your loader or theirs.
Pro Insight: Maintenance mode should be used for step-by-step actuator, conveyor, sensor, and magazine-lift testing without disrupting the full SMT line. It helps isolate faults quickly, especially when you’re chasing intermittent sensor issues or checking transfer timing.
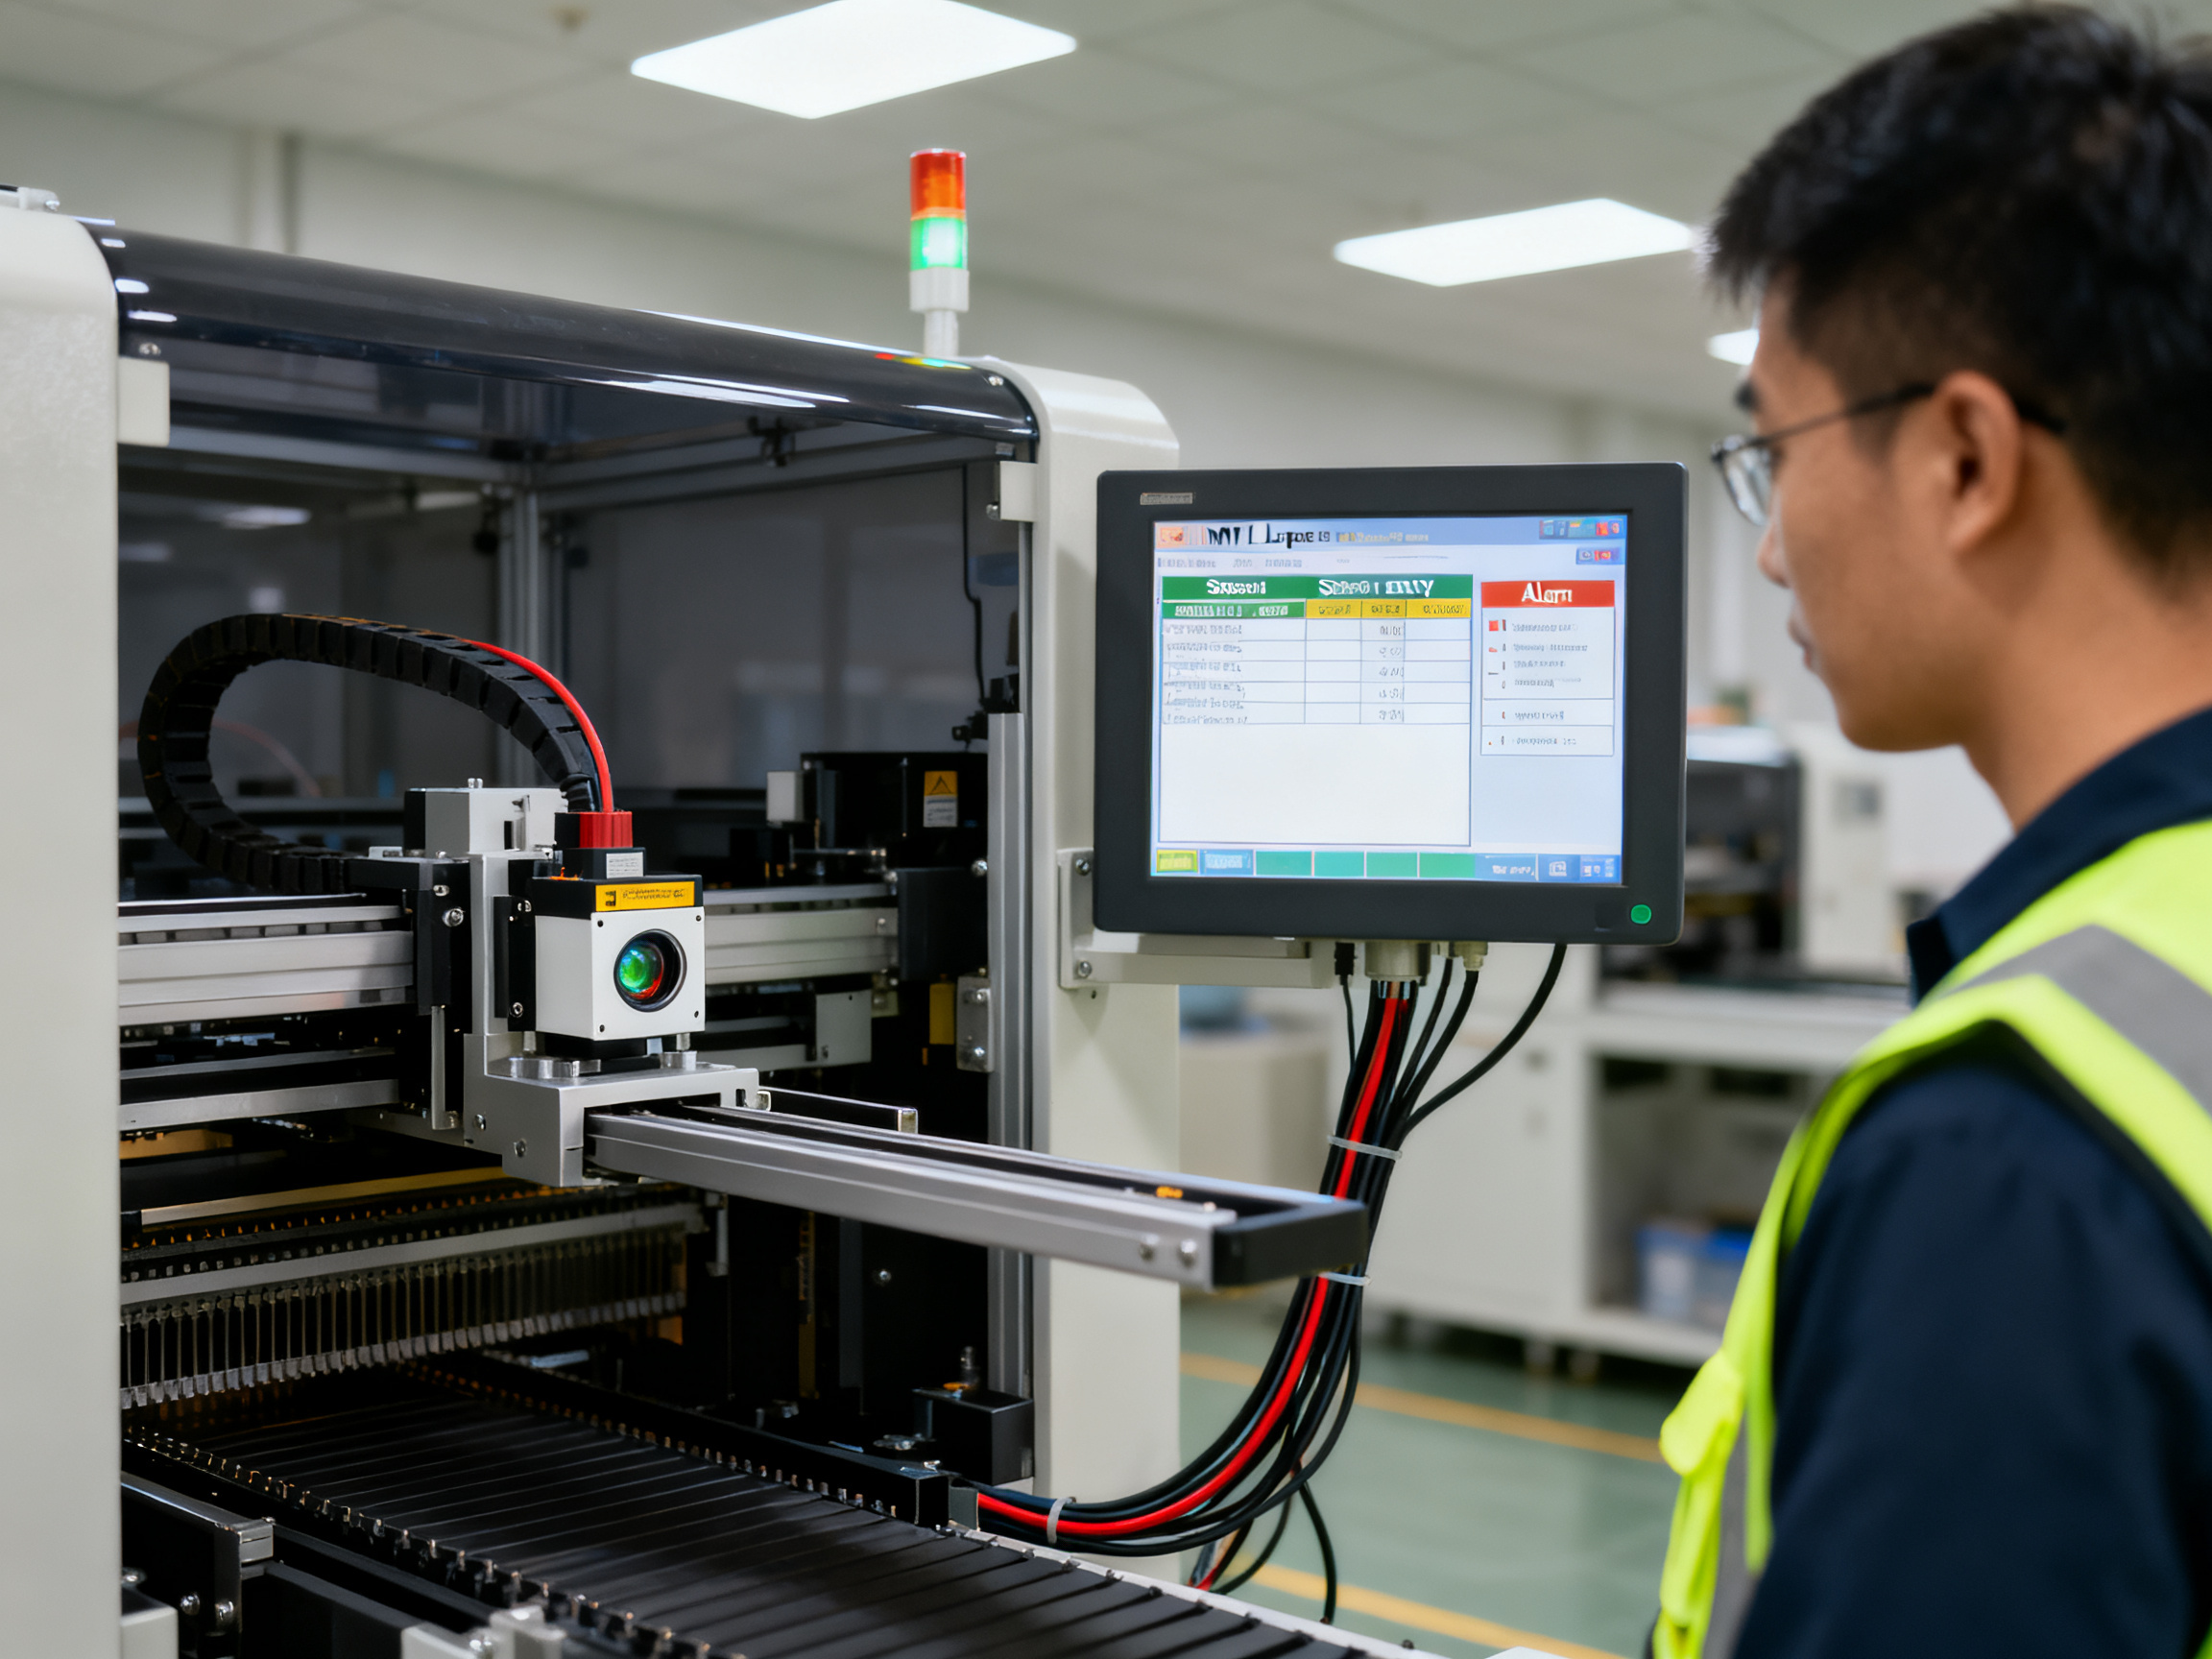
But here’s what the manuals make very clear, and what you should never skip: safety comes first, every single time.
Safety-First Flowchart for Maintenance Mode Use
- Stop line and isolate the loader from production
- Verify authorization and confirm you have approval for manual operation
- Enter maintenance/manual mode on the HMI
- Test one subsystem at a time and observe the result
- Record the result for your maintenance log
- Return to auto mode and verify normal operation before restarting production
Before you touch anything, check that your safety guards are in place and your E-stop is accessible. Some controllers disable certain protective inputs during jog operations, which means you need to be extra vigilant about keeping clear of moving parts. Never reach into the machine while actuators are powered.
The whole point of maintenance mode is to save time. You test one thing, write down what happened, move to the next. This systematic approach separates a quick diagnosis from a days-long guessing game that costs you production hours you can’t afford to lose.
Troubleshooting Common SMT Loader Faults
When your SMT loader throws a fault, the panic sets in fast. Your line is down, operators are staring at you, and the clock is ticking. But here’s the thing: most loader faults follow patterns, and once you know those patterns, you can diagnose them in minutes instead of hours.
The key is working through the problem in the right order. Start safe, then look obvious, then check mechanical, then sensor, then pneumatic, then finally communication signals. Skip steps and you’ll waste time chasing shadows.
From Our Experience: A practical diagnostic sequence for separating mechanical jams, sensor misreads, pneumatic issues, and upstream/downstream communication faults starts with a simple question: did the alarm happen before or after the board started moving? If before, it’s probably a lift or pusher home-position issue. If during transfer, look at conveyors and sensors. If at handshake, it’s almost always SMEMA.
SMT Loader Troubleshooting Matrix
| Symptom | Probable Cause | Check | Corrective Action | When to Escalate |
|—|—|—|—|—|
| No power or no ready signal | Power switch broken, loose wire, open circuit | Power connections, switch continuity | Replace switch, secure connections | If wiring harness is damaged |
| Magazine not lifting | Rising condition not met, cylinder origin not sensed, stroke switch issue | Cylinder, sensor detection, platform position | Check cylinder air pressure, adjust sensor position | If cylinder is seized |
| PCB not pushed out | Magazine position incorrect, pusher not returned | Magazine alignment, pusher home position | Adjust magazine, check pusher reset | If ball screw is damaged |
| Conveyor not transferring | Belt misalignment, chain looseness, debris | Belt tension, chain condition, motor | Clean, adjust tension, check motor drive | If motor has failed |
| Board skewing or jamming | Rail width incorrect, bent magazine slots | Rail adjustment, magazine condition | Realign rails, replace damaged magazine | If rails are worn beyond adjustment |
| False sensor alarm | Dirty sensor, misalignment, excessive lubrication | Sensor lens, alignment, wiring | Clean sensor, verify mounting, reduce lubricant | If sensor replacement needed |
| Downstream machine not receiving board | SMEMA signal mismatch, communication fault | Board Available and Machine Ready signals | Test signal continuity, check handshake timing | If Hermes adapter needed |
Here’s a real scenario that happened on a line I worked with. The loader kept reporting a board transfer fault every 20 minutes or so. Operators were blaming the pick-and-place, the pick-and-place crew was blaming the loader, and nobody could figure it out. I spent an hour watching before I noticed the real problem. The photoelectric sensor at the exit was sitting in a film of solder flux overspray from the wave solderer upstream. Every few boards, enough flux accumulated to give a false reading. The loader thought the board was still in position and refused to send the next one. Cleaned the sensor, problem gone. Total fix time after diagnosis: 3 minutes.
That story teaches an important lesson: always check sensor cleanliness before assuming a sensor has failed. Dust, flux, and oil cause most false alarms, and cleaning takes seconds compared to the time you lose ordering and replacing parts.
When you face a loader fault, work through this checklist in order. First, verify safety and clear any obvious jams. Second, check the HMI or tower light for specific alarm codes. Third, confirm the magazine is sitting level and the pusher has returned to home. Fourth, test your sensors with a known-good PCB. Fifth, verify air pressure and cylinder movement. Sixth, check SMEMA or Hermes communication signals at the interface connectors.
Most faults clear before you reach step four. The ones that don’t usually point to a specific component that needs cleaning, adjusting, or replacing.
Building a Preventive SMT Loader Maintenance Plan
Here’s what nobody tells you when you buy an SMT loader. The machine will run fine for months, then suddenly eat into your production schedule with problems that crept up slowly. A magazine lift that started grinding. A pusher that drifted half a millimeter each week. A sensor that needed cleaning more and more often.
That’s the thing about loaders. They fail quietly until they fail loudly.
A solid preventive maintenance plan catches most of those problems before operators even notice. Here’s how to build one that actually works in the field.
Preventive Maintenance Schedule
| Frequency | Tasks | Components Checked |
|—|—|—|
| Günlük | Surface cleaning, sensor inspection, air pressure check | Sorb photoelectric sensors, air supply, safety guards |
| Haftalık | Transport chain inspection, ball screw lubrication, cylinder test | Ball screw, linear bearings, magazine rails |
| Aylık | Lubricant replacement, alignment checks, fitting inspection | Ball screw, shaft seals, pneumatic connections |
| Quarterly | Belt inspection, rail wear check, filter replacement | Conveyor belts, guide rails, air filters |
Günlük tasks take about 10 minutes per loader. Wipe down surfaces, clean sensor lenses, verify air pressure holds steady. Your operators can do this before their first board runs.
Haftalık tasks need maybe 30 minutes. I run a magazine through the lift cycle three times while listening. Any grinding or stiction tells me the ball screw is drying out. Clean and lubricate it now instead of replacing it later.
Aylık tasks go deeper. Replace shaft lubricants and check that pneumatic fittings haven’t started leaking. Loose fittings cause pressure drops, and pressure drops cause inconsistent magazine heights that throw off your board presentation.
Quarterly checks are when you pull apart what you normally leave alone. Inspect belt tension, check rail wear patterns, replace air filters. This is also when I go through our spare parts stock and restock anything running low.
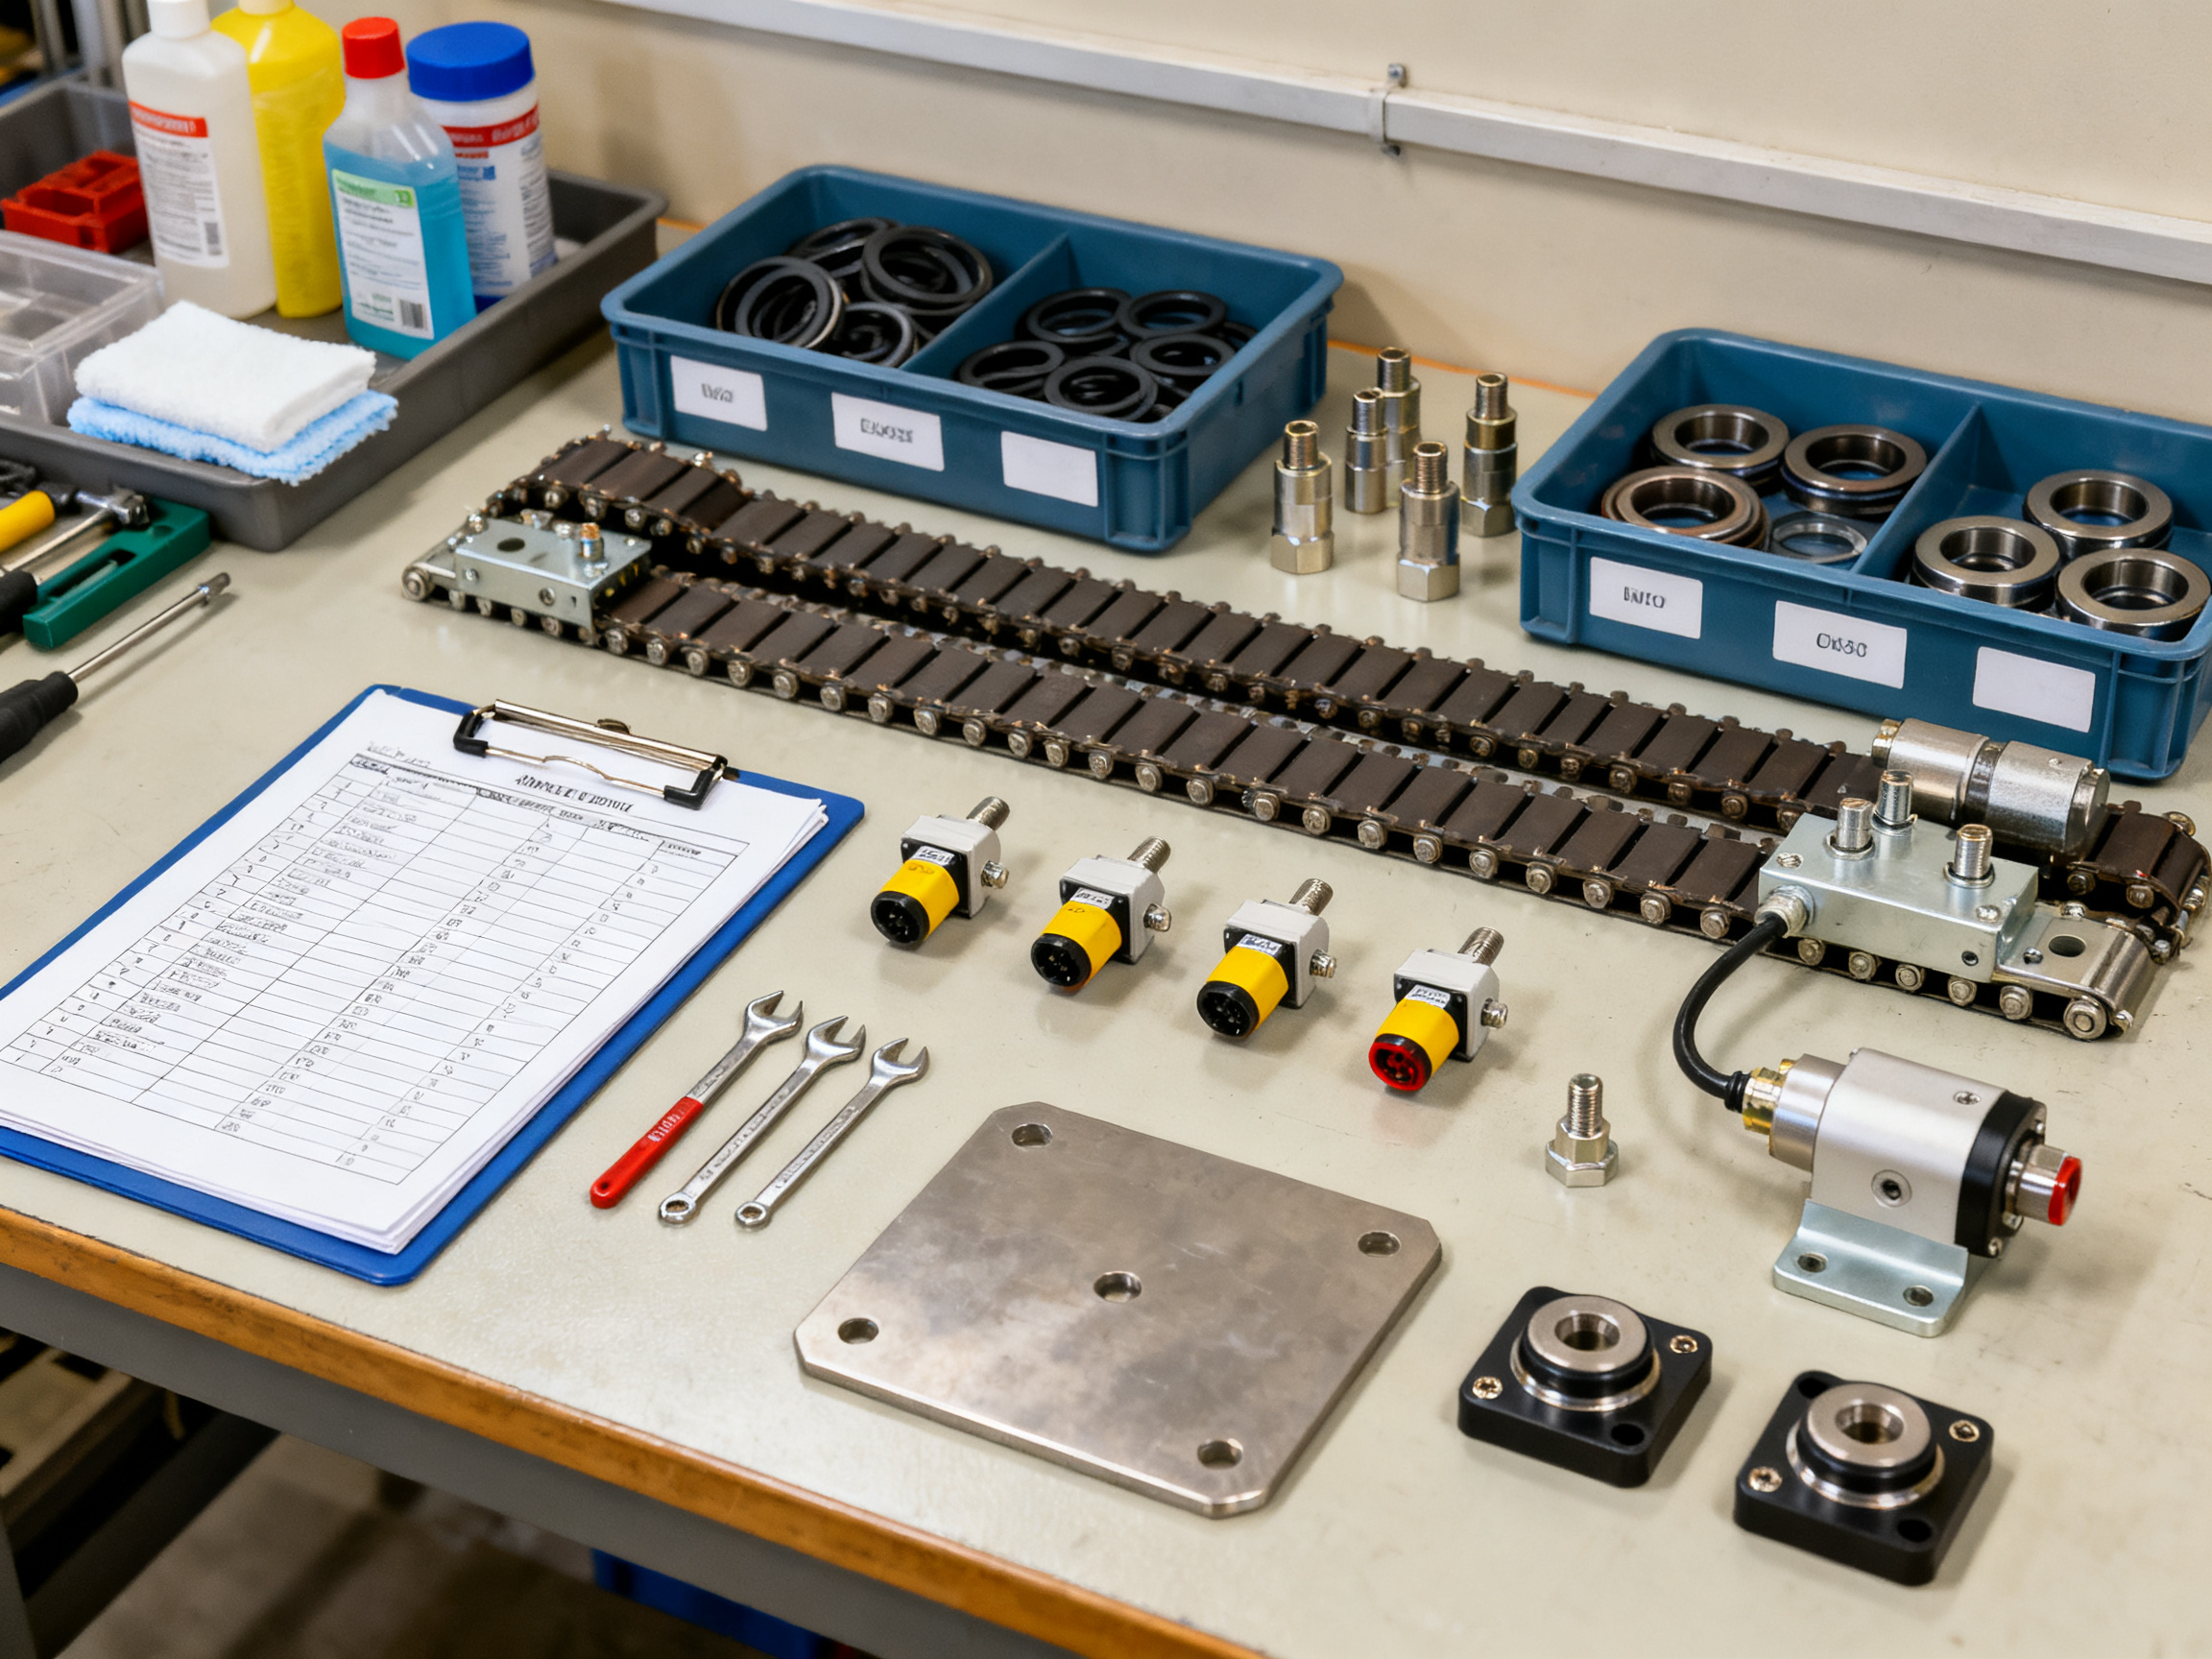
Key Performance Indicators to Track
| Metric | What It Tells You | Target Range |
|—|—|—|
| MTBF | Average hours between loader faults | Above 1,000 hours |
| MTTR | Time to repair when faults occur | Below 30 minutes |
| OEE | Overall equipment effectiveness | Above 90% |
| Misfeed rate | Boards that fail to transfer correctly | Below 0.5% |
| Repeated alarms | Same fault appearing multiple times | Zero repeated faults |
Track these weekly. If your misfeed rate creeps above 0.5%, something is wearing. If you see the same alarm twice in a week, that problem is not fixed, it is just quiet.
Spare Parts to Keep on Hand
Order these wear items before you need them. When a loader goes down, waiting for parts is the most expensive part of the repair. Stock photoelectric sensors, conveyor belts, push plates, magnetic sensors, pneumatic fittings, O-rings, and emergency stop switches. For a busy line running 16 hours a day, keep at least two of each critical wearable in your maintenance drawer.
The goal here is simple. Catch problems during planned maintenance instead of during production. Your downtime cost drops, your operators stop babysitting the machine, and your loader keeps running like it should.
Regular documentation matters too. Log every maintenance task, every alarm, and every repair. Over time, those records show patterns that help you adjust your schedule before failures happen. If a sensor keeps triggering false alarms, note it. If a belt stretches after month three, adjust your replacement interval. That history turns reactive maintenance into something smarter.
Loader vs Unloader Maintenance Tasks
Your SMT line has two machines that look almost identical but do very different jobs. Understanding loader vs unloader maintenance means knowing what each one actually does with your boards.
A loader takes bare or process-ready PCBs from magazines and feeds them into the start of your SMT production line. An unloader does the opposite. It collects finished boards after they have passed through inspection, curing, reflow, or other downstream handling stages.
Both machines share the same basic components: magazines, conveyors, sensors, lifts, and communication interfaces. That means loader vs unloader maintenance has more overlap than you might expect.
Shared Maintenance Tasks
Magazine alignment, conveyor inspection, sensor cleaning, lift movement checks, safety checks, and communication signal verification apply to both machines. Whether you are running a loader or an unloader, dirty photoelectric sensors cause false alarms. Worn conveyor belts cause jams. Misaligned magazines cause board damage.
The root causes and consequences differ though.
Key Differences Between Loader and Unloader Maintenance
| Aspect | Loader Focus | Unloader Focus |
|—|—|—|
| Primary role | Feed incoming PCBs into the line | Receive and collect finished boards |
| Board condition | Bare or process-ready | Often warm, with components mounted |
| Critical checks | Push accuracy, upstream SMEMA timing | Stacking alignment, gentle receiving |
| Special concern | Rail width for incoming board specs | Cooling-zone compatibility, scratch prevention |
| Downstream link | Coordinates with pick-and-place | Receives after reflow or inspection |
For loaders, your biggest concerns are board feed accuracy and push consistency. If the pusher drifts or the rail width is wrong, your pick-and-place machine gets misaligned boards and your first-pass yield drops fast.
For unloaders, finished-board handling is the priority. Boards coming out of reflow can still be warm, and the unloader needs to receive them without scratching components or causing alignment problems during stacking. I pay extra attention to rail conditions and magazine slot edges on unloaders because a rough surface can damage expensive completed assemblies.
Both need regular attention. Skip loader maintenance and your line starts with bad boards. Skip unloader maintenance and your finished products arrive at shipping with scratches or stacking errors.
Keep both running, and your SMT production line uptime stays where it should be.
When to Service, Repair, or Upgrade an SMT Loader
Your loader will tell you when something is wrong. You just have to listen.
Service Triggers to Watch For
Repeated alarms that clear with resets but come back? That’s a warning sign. Rising misfeed rates above 0.5% tell you something is wearing. Unstable magazine lift heights, increasing downtime between faults, worn push plates or belts, and intermittent SMEMA communication all point to the same truth: your loader needs attention.
For lead-free assembly equipment running dense BGA and QFN components, these signs appear faster. The precision demands on your SMT production line uptime don’t leave room for degraded handling.
Repair or Replace?
Here’s the practical test. If the fix costs less than two weeks of downtime impact, repair it. If you’re ordering the same sensor for the third time this quarter, start comparing replacement costs instead.
| Situation | Recommendation |
|—|—|
| Occasional fault, single component | Repair |
| Recurring fault, same part failing | Evaluate replacement |
| Multiple subsystem wear | Compare repair vs upgrade cost |
| Incompatible with current protocols | Upgrade |
| Cannot support new board specs | Upgrade |
Upgrade Triggers
When your loader cannot support Hermes protocol integration, fails to meet changeover speed targets, or creates bottlenecks in your high-volume line, an upgrade pays for itself fast.
For a $500 per hour SMT line running 16 hours daily, reducing downtime by 30 minutes weekly through faster changeovers and better reliability means over $12,000 in recovered output per year. That math makes the upgrade decision easy.
Karar Faktörleri
Check total cost of ownership before buying. Factor in spare parts availability, line compatibility with your other equipment, vendor service support, safety compliance status, and whether the machine scales with your production growth. A loader upgrade that supports your SMT automation preventive maintenance goals for the next five years beats a cheap repair that fails next month.
When in doubt, look at your loader vs unloader maintenance records. If your loader is generating more trouble than your unloader, that imbalance tells you where to invest.
Expert Maintenance Takeaways for Reliable SMT Loading
Your SMT loader is only as reliable as the maintenance routine behind it. After working through daily checks, maintenance mode diagnostics, troubleshooting sequences, and preventive service intervals, here’s what actually matters going forward.
Effective smt loader maintenance combines four things: daily inspections that catch problems before your first board runs, maintenance mode for step-by-step diagnostics without line disruption, a structured preventive service plan based on actual operating hours, and complete troubleshooting records that expose patterns over time.
Loader reliability becomes especially critical for manufacturers running high-volume, high-density, lead-free, or high-reliability PCB assembly lines. For teams working with BGA and QFN components, even small handling variations create downstream soldering defects. Your smt production line uptime depends on boards arriving correctly, every single cycle.
Action steps for your maintenance plan going forward:
- Audit your current loader maintenance plan against the daily, weekly, monthly, and quarterly tasks we’ve covered
- Compare loader and unloader tasks because they differ more than most people realize
- Review your alarm history for recurring faults that never got fully resolved
- Set your service intervals based on actual operating hours
- Confirm spare-parts readiness so a failed sensor does not halt production
A well-maintained loader protects your entire SMT line, and that protection pays for itself every single day.