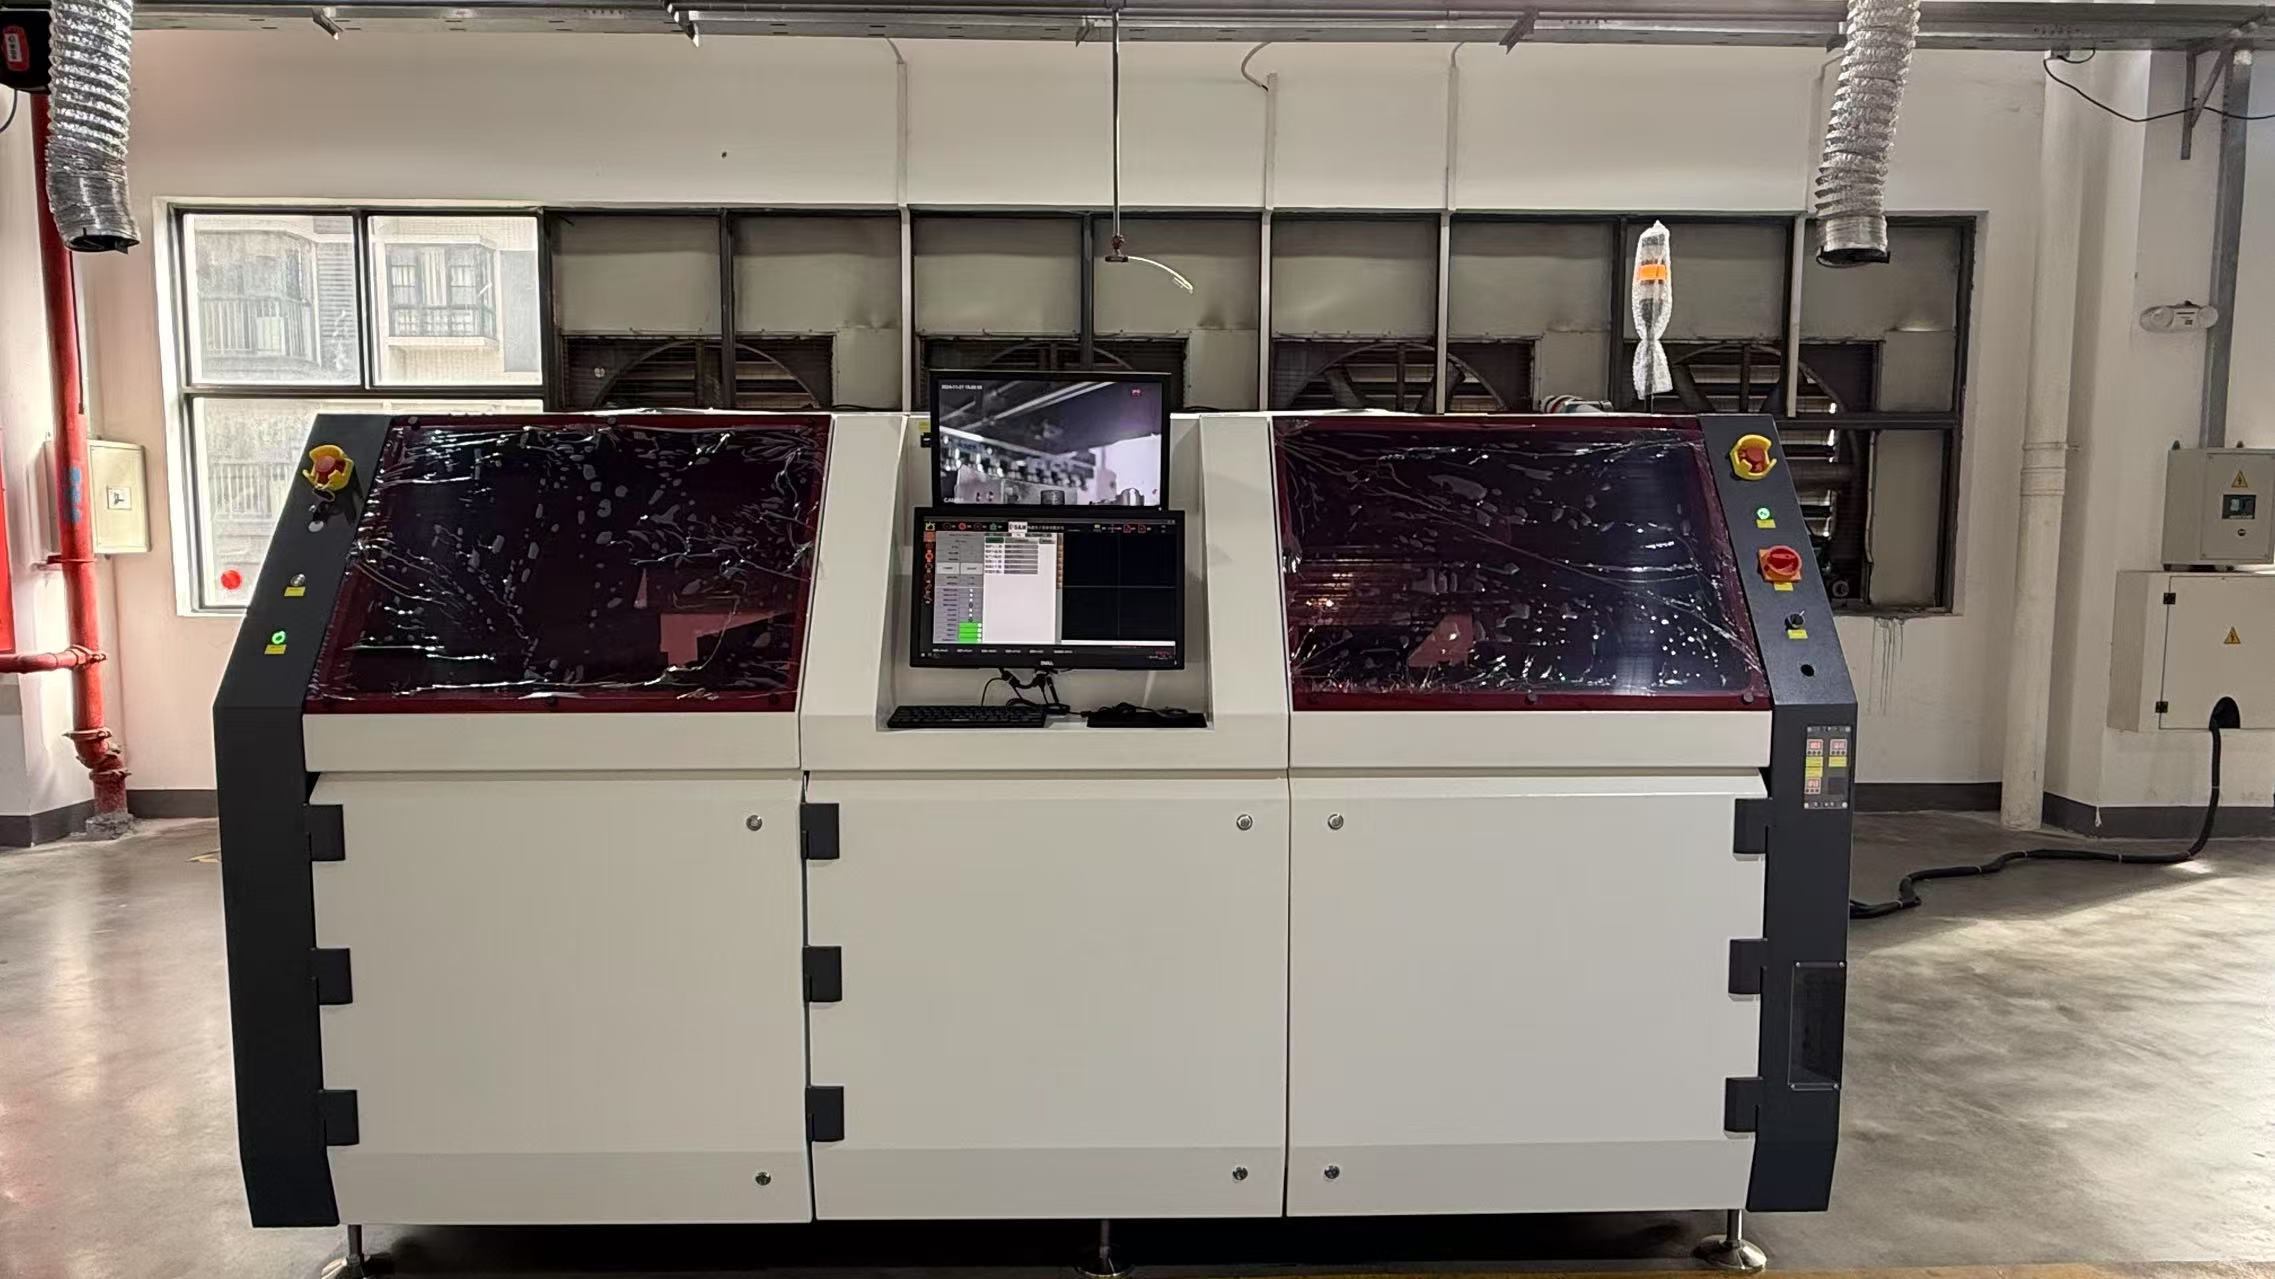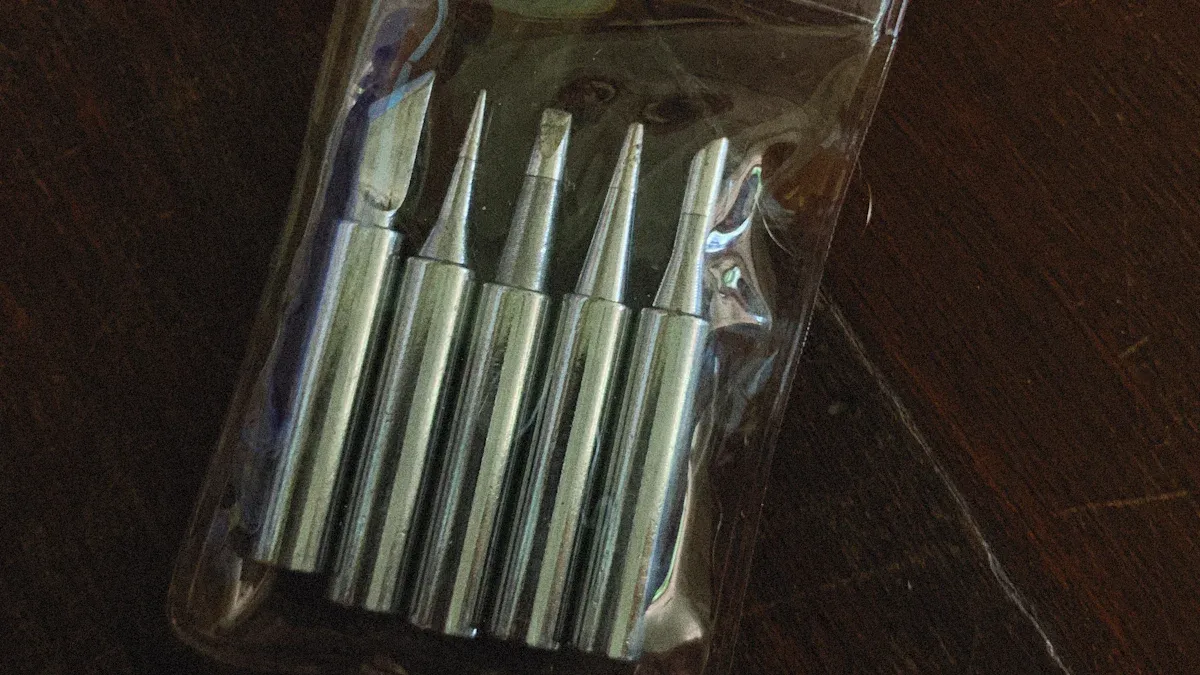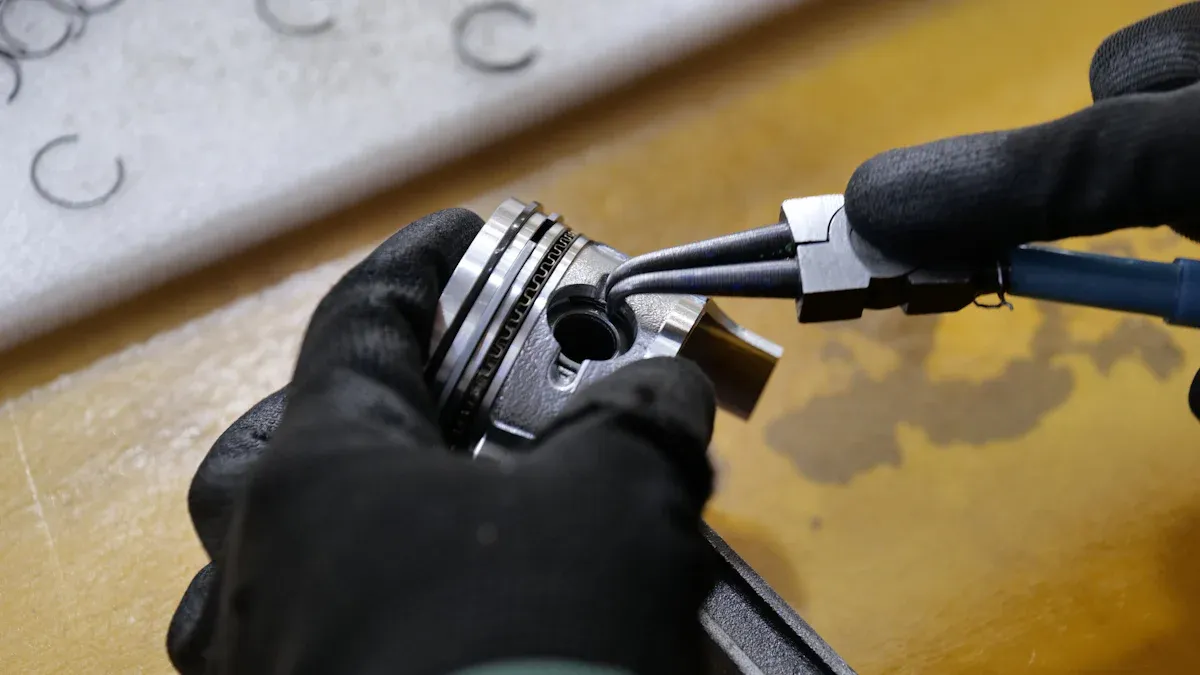
You rely on nozzle performance to achieve precise results in Selective Wave Soldering. The right nozzle type for your board layout can boost quality and lower defects. For example:
The nozzle type you use will depend on the make-up of the board and the location of SMDs on that board. For instance, a fairly large row of connectors/leads not in close proximity to SMD components could use a wide nozzle to swipe (or wave) the entire row at once.
You can improve outcomes by adjusting process settings and keeping your equipment clean. Better nozzle performance means less downtime and higher reliability.
Key Takeaways
-
Choose the right nozzle type based on your board layout. This choice enhances solder quality and reduces defects.
-
Regularly clean and maintain your nozzles to prevent clogs and ensure consistent solder flow. Schedule cleaning at the end of each shift.
-
Monitor key process settings like solder temperature and preheating to improve nozzle performance and joint quality.
-
Use visual inspections and magnification tools to catch defects early. This practice helps maintain high-quality standards.
-
Adjust the nozzle position and solder flow rate to prevent solder bridging and improve accuracy in your soldering process.
Nozzle Performance
Immediate Improvement Steps
You can boost nozzle performance in Selective Wave Soldering by following a few proven steps. Experts recommend these actions for fast results:
-
Monitor soldering temperature and duration. This helps you avoid thermal damage and ensures strong joints.
-
Optimize the cooling rate. You prevent solder balls and make sure the flux amount is correct.
-
Clean the soldering area regularly. This keeps your process stable and improves quality.
-
Check and adjust solder temperature, usually between 260°C and 300°C. Set the preheat temperature to around 100°C for best results.
-
Adjust nozzle position and solder flow rate. This prevents solder bridging and improves accuracy.
-
Make sure flux is fresh and applied evenly. Good flux coverage improves wetting and reduces defects.
Tip: Maintain consistent solder wave height. This ensures precise solder deposition and reduces the risk of missed joints.
You should also calibrate the nozzle system often. Use real-time feedback from sensors to reduce variability. Control the atmosphere with nitrogen inerting. This minimizes oxidation and improves wetting performance.
The process settings you choose have a big impact on nozzle efficiency. The table below shows which parameters matter most:
|
Parameter Type |
Effect on Efficiency |
|---|---|
|
Copper layer design parameters |
Strongest effects observed |
|
Solder bath temperature |
Strongest effects observed |
|
Preheating temperatures |
Strongest effects observed |
|
Soldering time |
Lowest impact observed |
|
Component surfaces and materials |
Little to no impact |
|
Machine parameters (e.g., pump power) |
Little to no impact |
|
Environmental conditions |
Little to no impact |
You should focus on copper layer design, solder bath temperature, and preheating temperatures. These settings give you the most control over Selective Wave Soldering nozzle performance.
Common Mistakes
Mistakes in Selective Wave Soldering can lead to poor solder joints and reliability problems. Incorrect temperature settings and poor techniques often cause weak connections and cold solder joints. These defects lower the quality of your work and can cause failures in the field.
You can avoid common errors by following these steps:
-
Use visual inspection to spot defects like cold joints and solder bridges.
-
Use magnification tools for detailed checks.
-
Implement process controls and keep good documentation. This helps you maintain quality standards.
Note: Proper training and strict adherence to best practices are essential. You improve reliability and reduce defects when you follow the right procedures.
If you pay attention to these details, you will see better results in Selective Wave Soldering. You will reduce downtime, improve joint quality, and increase overall reliability.
Selective Wave Soldering Nozzle Types

Nozzle Designs
You can choose from several nozzle designs to fit your Selective Wave Soldering needs. Each design offers unique benefits for different board layouts and component types.
-
Large nozzles work well for high thermal mass components. You can use them to solder rows of connectors or leads that are not close to sensitive SMDs.
-
Ultra-fine nozzles provide pinpoint accuracy. These are best for micro-connectors or densely packed boards.
-
Jet nozzles offer custom configurations and require minimal maintenance. They suit applications where you need efficiency and low cost.
Nozzle shape also matters. Round and oval shapes help distribute solder evenly across the joint. The aperture size should match the component size to ensure quality results.
Tip: A 45-degree nozzle angle gives you the best spraying efficiency. You can also choose between stainless steel and titanium nozzles. Both materials resist wear and last longer in harsh environments.
The table below compares jet nozzles and ultra-fine nozzles:
|
Nozzle Type |
Advantages |
Disadvantages |
|---|---|---|
|
Jet Nozzles |
Minimal maintenance, low cost, custom configurations |
Limited movement direction, complex programming |
|
Ultra-Fine Nozzles |
Pinpoint accuracy, less oxidation |
Higher cost, daily maintenance needed |
Application Matching
You improve Selective Wave Soldering outcomes when you match the nozzle type to your application. The right nozzle enhances solder penetration and reduces defects. You also get better overall soldering quality by optimizing nozzle geometry for each joint type.
-
Select a large nozzle for connectors with high thermal mass.
-
Use an ultra-fine nozzle for micro-connectors or tight spaces.
-
Choose a jet nozzle when you want low maintenance and custom options.
Note: Matching nozzle material and angle to your process helps you achieve consistent, high-quality results.
Process Optimization
Fluxing
You need to pay close attention to fluxing when you want to optimize nozzle performance. Fluxing ensures that the application is precise. This precision leads to better soldering outcomes and reduces unwanted residues. When you apply flux correctly, you improve the reliability of your process. You also gain better control over each solder joint. Good fluxing cleans oxides from the surfaces and prevents re-oxidation. This step helps solder spread evenly and creates strong, reliable joints.
Tip: Always check that your flux is fresh and applied only where needed. This reduces the risk of residue and improves Selective Wave Soldering results.
Preheating
Preheating plays a vital role in Selective Wave Soldering. When you set the right preheating temperature, you help the flux solvent evaporate and activate the flux components. This step lowers the thermal energy needed from the solder wave. As a result, you can achieve good soldering even at lower wave temperatures. If you overheat, the flux may exhaust too soon. This can cause defects like solder bridging or flags.
You should follow the recommended preheating profiles for different PCB assemblies. The table below shows typical values:
|
Preheating Stage |
Temperature Range (°C) |
Heating Rate (°C/sec) |
|---|---|---|
|
Preheat Zone |
100 – 150 |
1 – 3 |
|
Maximum Rate |
|
4 |
Note: Proper preheating reduces thermal stress on components and helps prevent soldering defects.
Soldering Parameters
You can achieve consistent nozzle performance by controlling several key soldering parameters. These include flux application, preheating temperature, solder temperature, conveyor speed, wave height, and cooling rate.
-
Flux Application: Cleans and prepares surfaces for soldering.
-
Preheating Temperature: Activates flux and reduces thermal shock.
-
Solder Temperature: Ensures full melting and good wetting.
-
Conveyor Speed: Controls how long the PCB contacts the solder wave.
-
Wave Height: Affects solder coverage and risk of bridging.
-
Cooling Rate: Influences joint strength and prevents cracks.
You can also prevent solder bridging by adjusting nozzle position, solder flow rate, and spacing. Here are some proven strategies:
-
The second wave, with a slower solder flow removes excess solder from terminals.
-
This step ensures good wetting and eliminates sharp edges, burrs, and solder bridges.
-
Increasing the width of the second wave improves wettability, similar to higher preheating.
-
Lowering the height of the laminar flow nozzle reduces the lift of overflowing solder and decreases oxidized slag.
Modern Selective Wave Soldering systems use dynamic path optimization and real-time data monitoring. These tools help you fine-tune the process for each board. AI systems can capture and analyze data such as temperature and current in real time. This continuous learning allows for intelligent control over the soldering process. You can reduce welding time and improve quality and consistency.
|
Aspect |
Benefit |
|---|---|
|
Real-time Cpk |
Automatically calculates and saves process capability index, ensuring quality control. |
|
Dwell time calculation |
Provides precise measurements for each PCB processed, enhancing process accuracy. |
|
SPC charting |
Automatically plots process results, allowing for quick identification of trends and issues. |
|
Intuitive troubleshooting |
Quickly identifies deviations in the process, facilitating immediate corrective actions. |
Callout: The integration of IoT and AI into your soldering equipment enables real-time monitoring and predictive maintenance. This approach optimizes your process, reduces downtime, and boosts efficiency.
Maintenance

Cleaning
You keep your selective wave soldering nozzles in top condition by cleaning them regularly. Solder residue, flux buildup, and oxidation can block the nozzle and reduce performance. Use a soft brush or a lint-free cloth to remove debris after each production run. For stubborn deposits, apply a mild degreaser that is safe for your equipment. Avoid harsh chemicals that can damage the nozzle material. Clean the nozzle tips and the surrounding area to prevent contamination of the solder bath.
Tip: Schedule cleaning at the end of every shift. This habit helps you maintain consistent solder flow and reduces the risk of defects.
Clogging Prevention
Clogging can cause uneven solder flow and poor joint quality. You can prevent clogs by monitoring solder paste levels and using only high-quality solder and flux. Check for signs of partial blockages, such as irregular wave height or sputtering. If you notice these issues, stop the process and inspect the nozzle immediately. Keep the solder bath free from dross and contaminants. Replace filters and screens as needed to ensure smooth operation.
-
Use fresh solder paste to avoid dried particles.
-
Store flux in sealed containers to prevent contamination.
-
Inspect nozzles for buildup before each shift.
Note: Preventing clogs saves you time and reduces costly rework.
Wear Monitoring
You extend the lifespan of your nozzles by monitoring wear closely. Regular checks help you spot early signs of erosion or deformation. When you catch problems early, you can schedule maintenance or replace nozzles before performance drops. This approach keeps your process stable and avoids unexpected downtime.
-
Timely maintenance and replacement prevent performance loss.
-
Early detection of wear avoids costly interruptions.
-
Efficient nozzles use less energy and resources.
Callout: Well-maintained nozzles deliver consistent spray quality and help you achieve reliable solder joints every time.
Troubleshooting
Wetting Issues
You may notice poor solder wetting or incomplete hole filling during selective wave soldering. These problems often come from issues with flux, temperature, or board design. Use the table below to help you identify and solve common wetting issues:
|
Problem |
Possible Causes |
|---|---|
|
INSUFFICIENT HOLE FILL |
– Not enough flux |
|
POOR HOLE FILLING |
– Poor or incomplete hole fill is usually a fluxing or heating issue |
Tip: Always check your flux application and preheat settings. Make sure the topside of the PCB reaches the right temperature before soldering.
Solder Bridges
Solder bridges can cause short circuits and reliability problems. You can use several methods to remove or prevent these defects:
-
Manual desoldering with a fine-tip soldering iron lets you target bridges without damaging nearby parts.
-
Solder wick absorbs excess solder for precise rework.
-
Automatic systems with machine vision can detect and remove bridges using laser heating or air jets.
-
Selective wave soldering itself helps prevent bridges by applying solder only where needed.
Note: Preventing solder bridges starts with careful process control and the right nozzle selection.
Solder Flow Problems
Solder flow issues can lead to weak joints or incomplete coverage. You can diagnose and fix these problems by following these steps:
-
Dedross the solder pot several times per shift to keep it clean.
-
Ensure proper flux penetration and preheating, especially on the PCB’s top side.
-
Check that the wave contact time is between 2 and 4 seconds and that the wave height reaches at least half the PCB thickness.
-
Assess the quality and storage of your incoming materials.
-
Check lead lengths to make sure they do not push out of the through-hole.
-
Increase in-wave immersion time to lower thermal demand on leads.
-
Verify that your PCB and components can handle the process temperatures.
Callout: Regular checks and adjustments help you maintain smooth solder flow and high-quality joints.
You can achieve better nozzle performance by choosing the right nozzle, adjusting process settings, and cleaning equipment often. Regular maintenance prevents downtime and keeps your process efficient. The table below shows how simple steps like inspection and cleaning help you avoid most spray problems:
|
Maintenance Action |
Benefit |
|---|---|
|
Visual inspection and cleaning |
Prevents clogs and spray pattern issues |
|
Regular nozzle replacement |
Ensures consistent performance |
|
Early detection of nozzle wear |
Reduces energy use and liquid waste |
Stay alert to changes in your process. Keep evaluating and adapting your approach for the best results.
FAQ
What causes nozzle clogging in selective wave soldering?
You often see nozzle clogging from flux residue, solder dross, or oxidation. These blockages reduce solder flow and cause defects. Regular cleaning and the use of high-quality materials help prevent this issue.
Tip: Inspect nozzles before each shift to catch early signs of clogging.
How often should you replace selective wave soldering nozzles?
Replace nozzles when you notice wear, deformation, or persistent clogging. Most users check the nozzle condition weekly. Early replacement keeps your soldering process stable and reliable.
Can you use the same nozzle for all PCB types?
You should not use one nozzle for every PCB. Different boards need different nozzle sizes and shapes. Matching the nozzle to the application improves solder quality and reduces defects.
|
PCB Type |
Recommended Nozzle |
|---|---|
|
High thermal mass |
Large nozzle |
|
Fine-pitch SMD |
Ultra-fine nozzle |
Why does solder bridging happen during selective wave soldering?
You may see solder bridging from incorrect nozzle position, excessive solder flow, or poor fluxing. Adjusting these parameters helps prevent bridges and ensures clean joints.
How do you know if your nozzle needs cleaning?
You notice uneven solder flow, sputtering, or visible residue on the nozzle. These signs mean you should clean the nozzle right away to restore performance.
Note: Consistent cleaning keeps your process efficient and reduces downtime.
