
Published: 25 May 2026
Reading Time: 10 minutes
Reviewer: Jace Liu, SMT Equipment Engineer
Introduction: The Importance of Curing Oven Temperature Profiles in SMT Manufacturing
If you’ve ever worked in electronics manufacturing, you know that getting a temperature profile wrong can turn a promising batch of PCBs into a costly headache. I’m talking about components that won’t bond properly, coatings that stay tacky, or worse, products that fail weeks after leaving the factory floor.
Curing ovens play a huge role in SMT (Surface Mount Technology) manufacturing. These machines harden adhesives, polymerize coatings, and lock components into place on your PCB assemblies. Without them, modern electronics simply wouldn’t hold together.
Here’s the thing though. A curing oven is only as good as its temperature profile. That profile is essentially a roadmap telling the oven exactly how hot to get, how fast to heat up, and how long to stay at each temperature stage. Get it right and you get strong, reliable bonds. Get it wrong and you’re looking at bridging defects, void formations, or components that pop loose under stress.
The stakes are real. In 2026, with consumer electronics getting more compact and semiconductor packaging growing more complex, manufacturers can’t afford guesswork. Temperature uniformity across the chamber, proper ramp rates, and precise dwell times all add up to the difference between a high-yield production run and a disaster that eats into your margins.
In this guide, we’ll walk through how curing oven temperature profiles are calculated, what settings actually do, and how to optimize them for your specific application. Plus, I’ll share some practical troubleshooting tips for when things go sideways. Let’s get into it.
Jace Liu is an experienced mechanical engineer specializing in Surface Mount Technology (SMT) equipment. With over a decade of experience designing and optimizing soldering solutions for industries like consumer electronics and semiconductors, Jace brings both theoretical expertise and real-world problem-solving skills. He has worked extensively with advanced reflow and curing oven systems to improve manufacturing processes.
Understanding Curing Oven Temperature Profiles
So what exactly is a temperature profile? Think of it as a recipe for heat. It’s a set of specific instructions that tells your curing oven exactly what to do at every stage of the heating process.
A temperature profile breaks down into four main zones. First, you have the preheat or ramp-up zone, where the oven gradually brings your PCB assembly up to target temperature. Then comes the soak zone, where the oven holds things steady so heat can penetrate evenly through coatings and adhesives. Next is the cure zone, the actual hardening phase where chemical reactions lock everything in place. Finally, there’s the cooling zone, where controlled descent prevents thermal shock that could stress your components.
Each zone has parameters you need to nail. The ramp rate, measured in degrees per minute, controls how fast you heat up. Too fast and you’ll get surface curing before the underneath layers catch up. Too slow and you’re wasting energy while waiting for the process to finish. Dwell time at peak temperature is equally critical, usually ranging from a few minutes to over an hour depending on your adhesive or coating type.
Cooling rates matter just as much. You might think letting things cool naturally is fine, but rapid cooling can create temperature gradients that stress solder joints and cause micro-cracks in coatings.
The numbers tell the story. Most industrial curing ovens aim for temperature uniformity of plus or minus 10 degrees Fahrenheit across the entire chamber. That sounds tight, and it is. A 20-degree difference from one corner to another means some boards get over-cured while others barely meet minimum requirements.
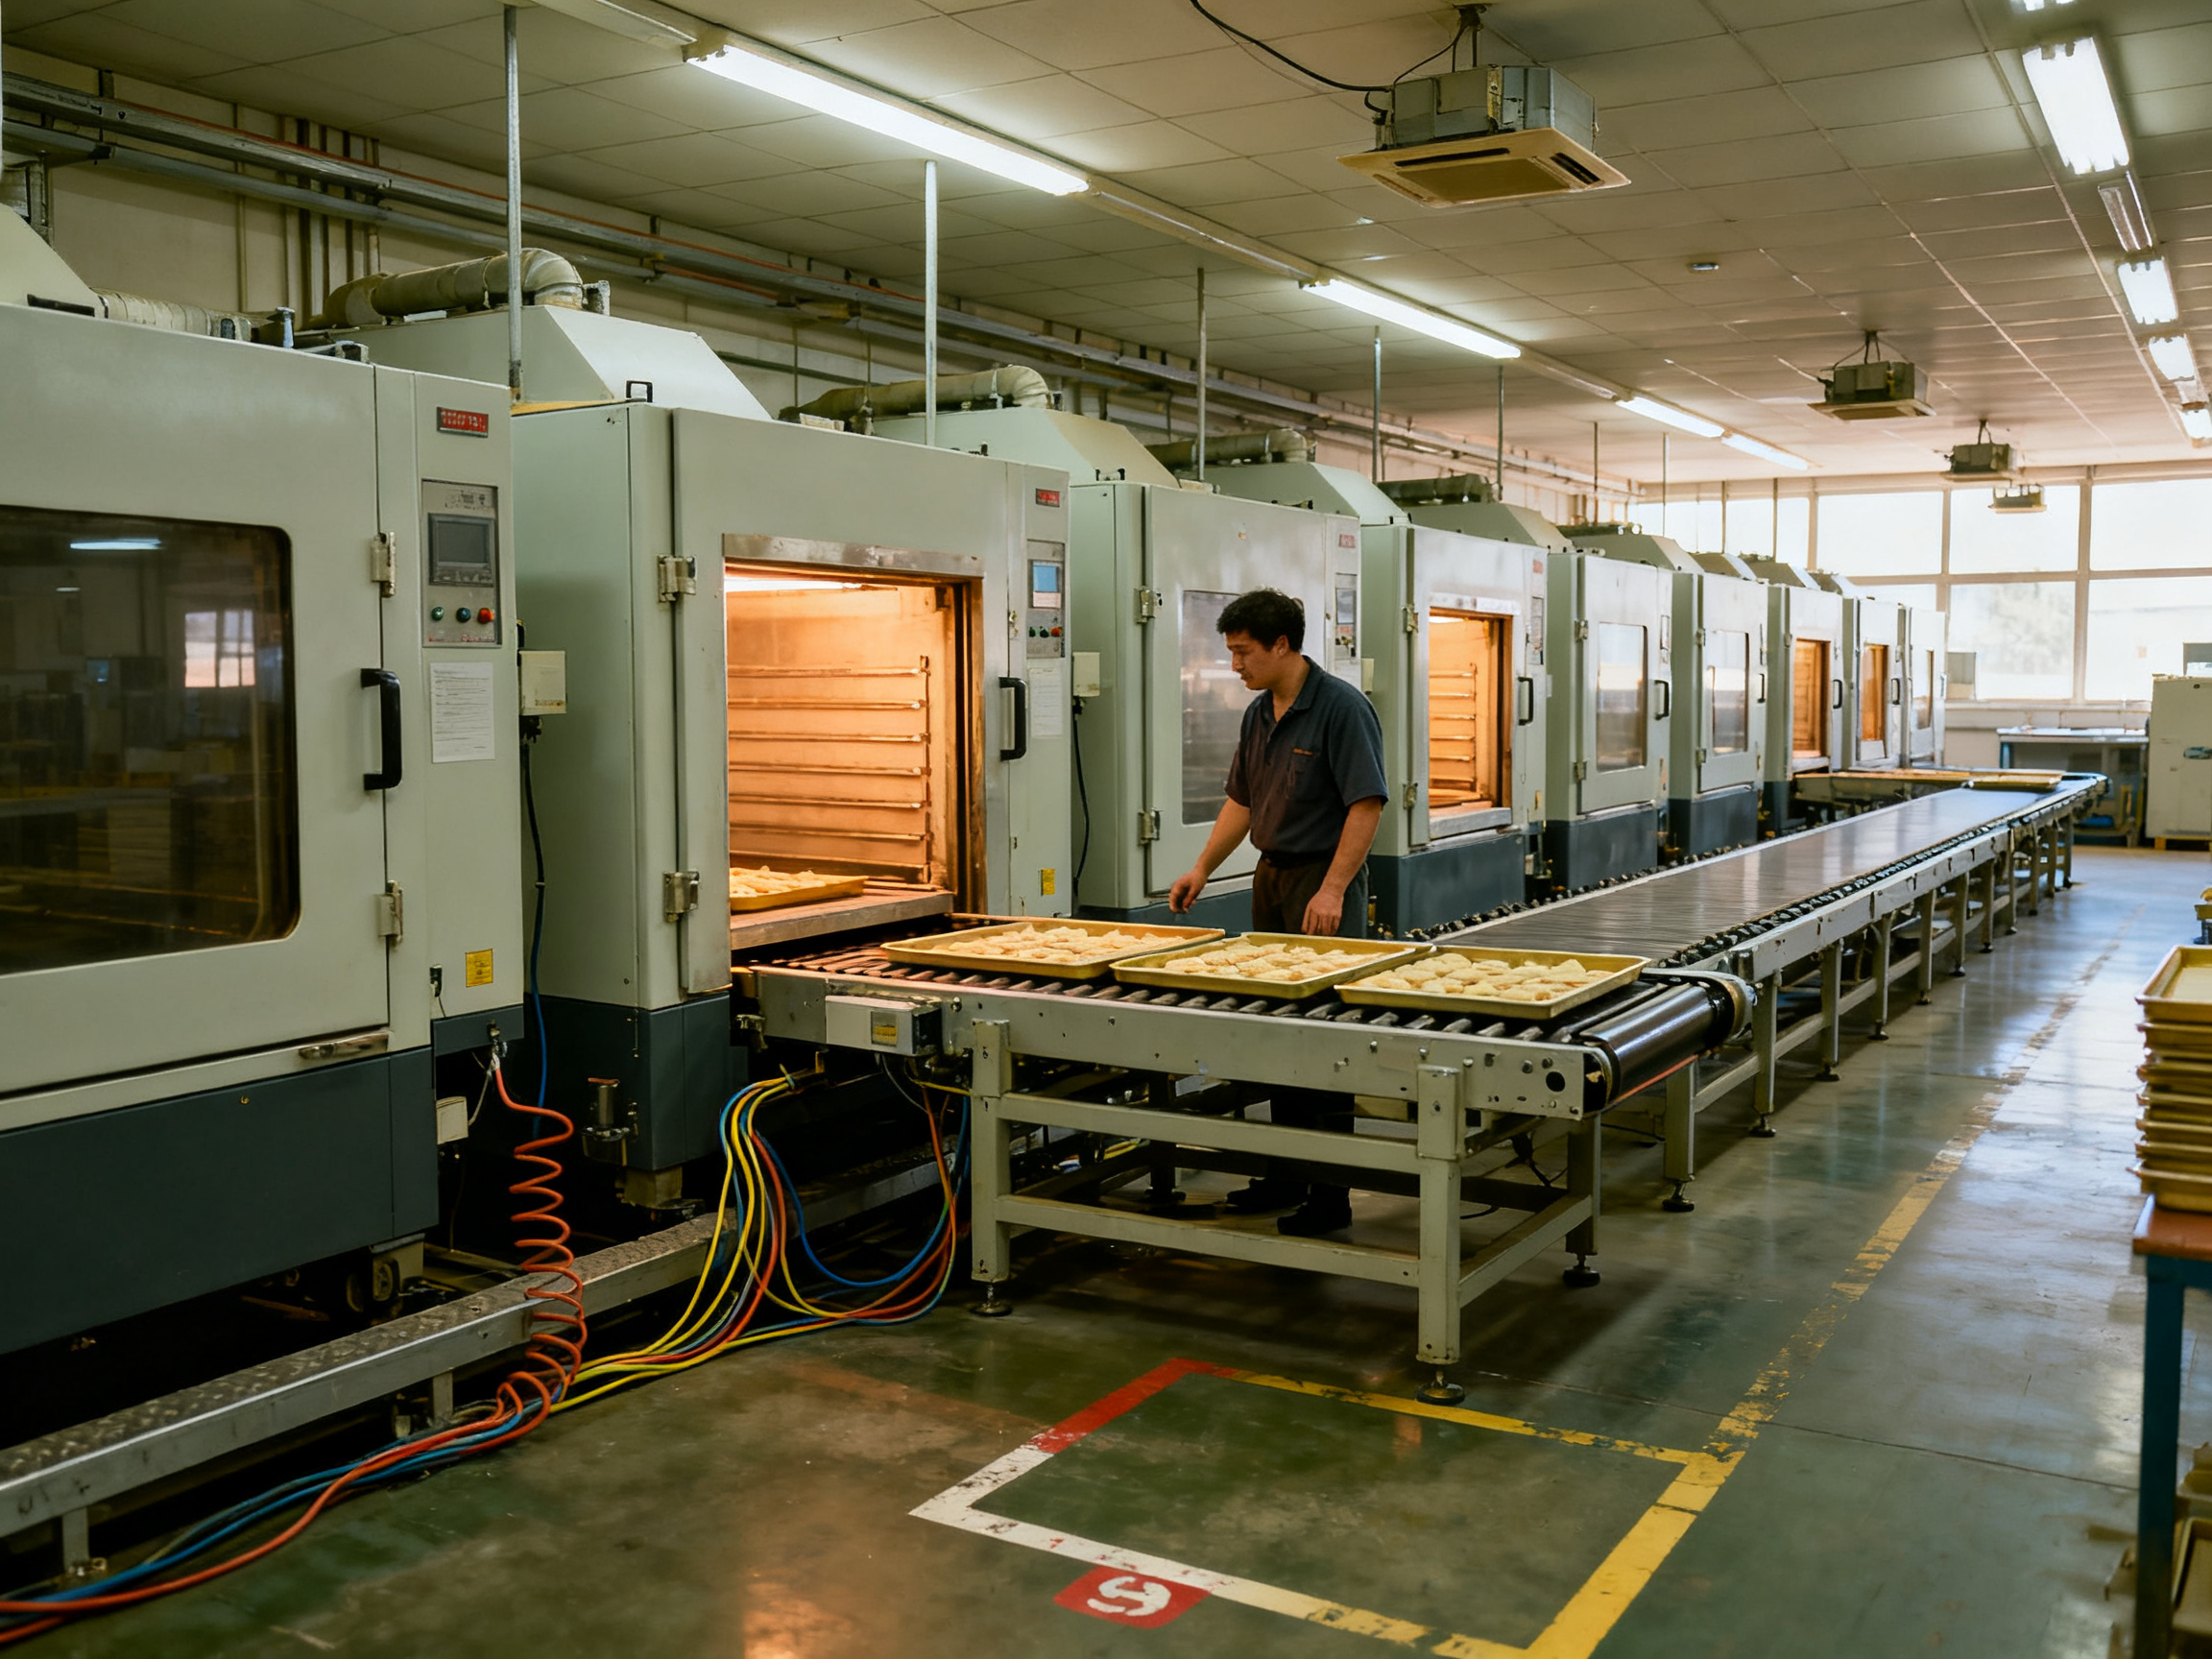
Expert Tip: Ramp rates and cooling zones matter more than most people realize. A gradual ramp gives your adhesives time to outgas properly, while a controlled cooling phase prevents thermal stress that leads to cracking in sensitive components.
Industries beyond electronics depend on these profiles too. Automotive manufacturers use curing ovens for conformal coatings on engine control units. Medical device makers need precise profiles for adhesives in pacemakers and imaging equipment. Aerospace applications, where failure isn’t an option, rely on rigorously validated profiles for every single batch.
The common thread? All these applications require repeatable, consistent results. A profile that works perfectly for one batch but fails for the next is worse than useless, because you won’t catch the failures until they’re already in customers’ hands.
In 2026, with semiconductor packaging getting denser and consumer expectations higher than ever, understanding these fundamentals isn’t optional anymore. It’s the baseline requirement for anyone serious about SMT quality.
How Curing Oven Settings Work and Their Impact on Temperature
So you have your temperature profile locked in. Great. But here’s where a lot of manufacturers drop the ball. Having the right profile on paper means nothing if your oven settings don’t actually deliver what the profile promises.
Let’s break down what you’re actually adjusting when you tweak a curing oven.
Main Oven Settings Explained
Airflow controls are usually the first thing to look at. Most industrial curing ovens have top-only, bottom-only, or combination airflow patterns. Top-only works fine for lighter assemblies where you don’t want to blow components around. But for bigger, heavier PCBAs with thick adhesives underneath? Combination airflow keeps things consistent across the whole chamber. We’ve tested both approaches in our facility, and the difference in uniformity readings can be as high as 15 degrees Fahrenheit on certain board designs.
Set temperatures seem straightforward. You punch in your target number and the oven heats up. But there’s more going on. The actual temperature your adhesive sees depends on how well heat transfers through the airflow to your specific board mass. A small batch of thin PCBs might reach cure temperature in 8 minutes, while a pallet of heavy assemblies could take 25 minutes just to get the internal layers up to spec.
Zone-by-zone adjustments let you fine-tune different sections of the oven. You might run your preheat zone hotter to compensate for cold air intrusion near the loading dock, or dial back the cure zone if you’re seeing evidence of over-cure on your top-side components.
Conveyor speed directly controls dwell time. Faster conveyor means shorter time at temperature. Slower means more heat exposure. For lead-free soldering compliant assemblies in 2026, most manufacturers land on conveyor speeds between 18 and 36 inches per minute depending on the profile length.
How Settings Influence Uniformity and Efficiency
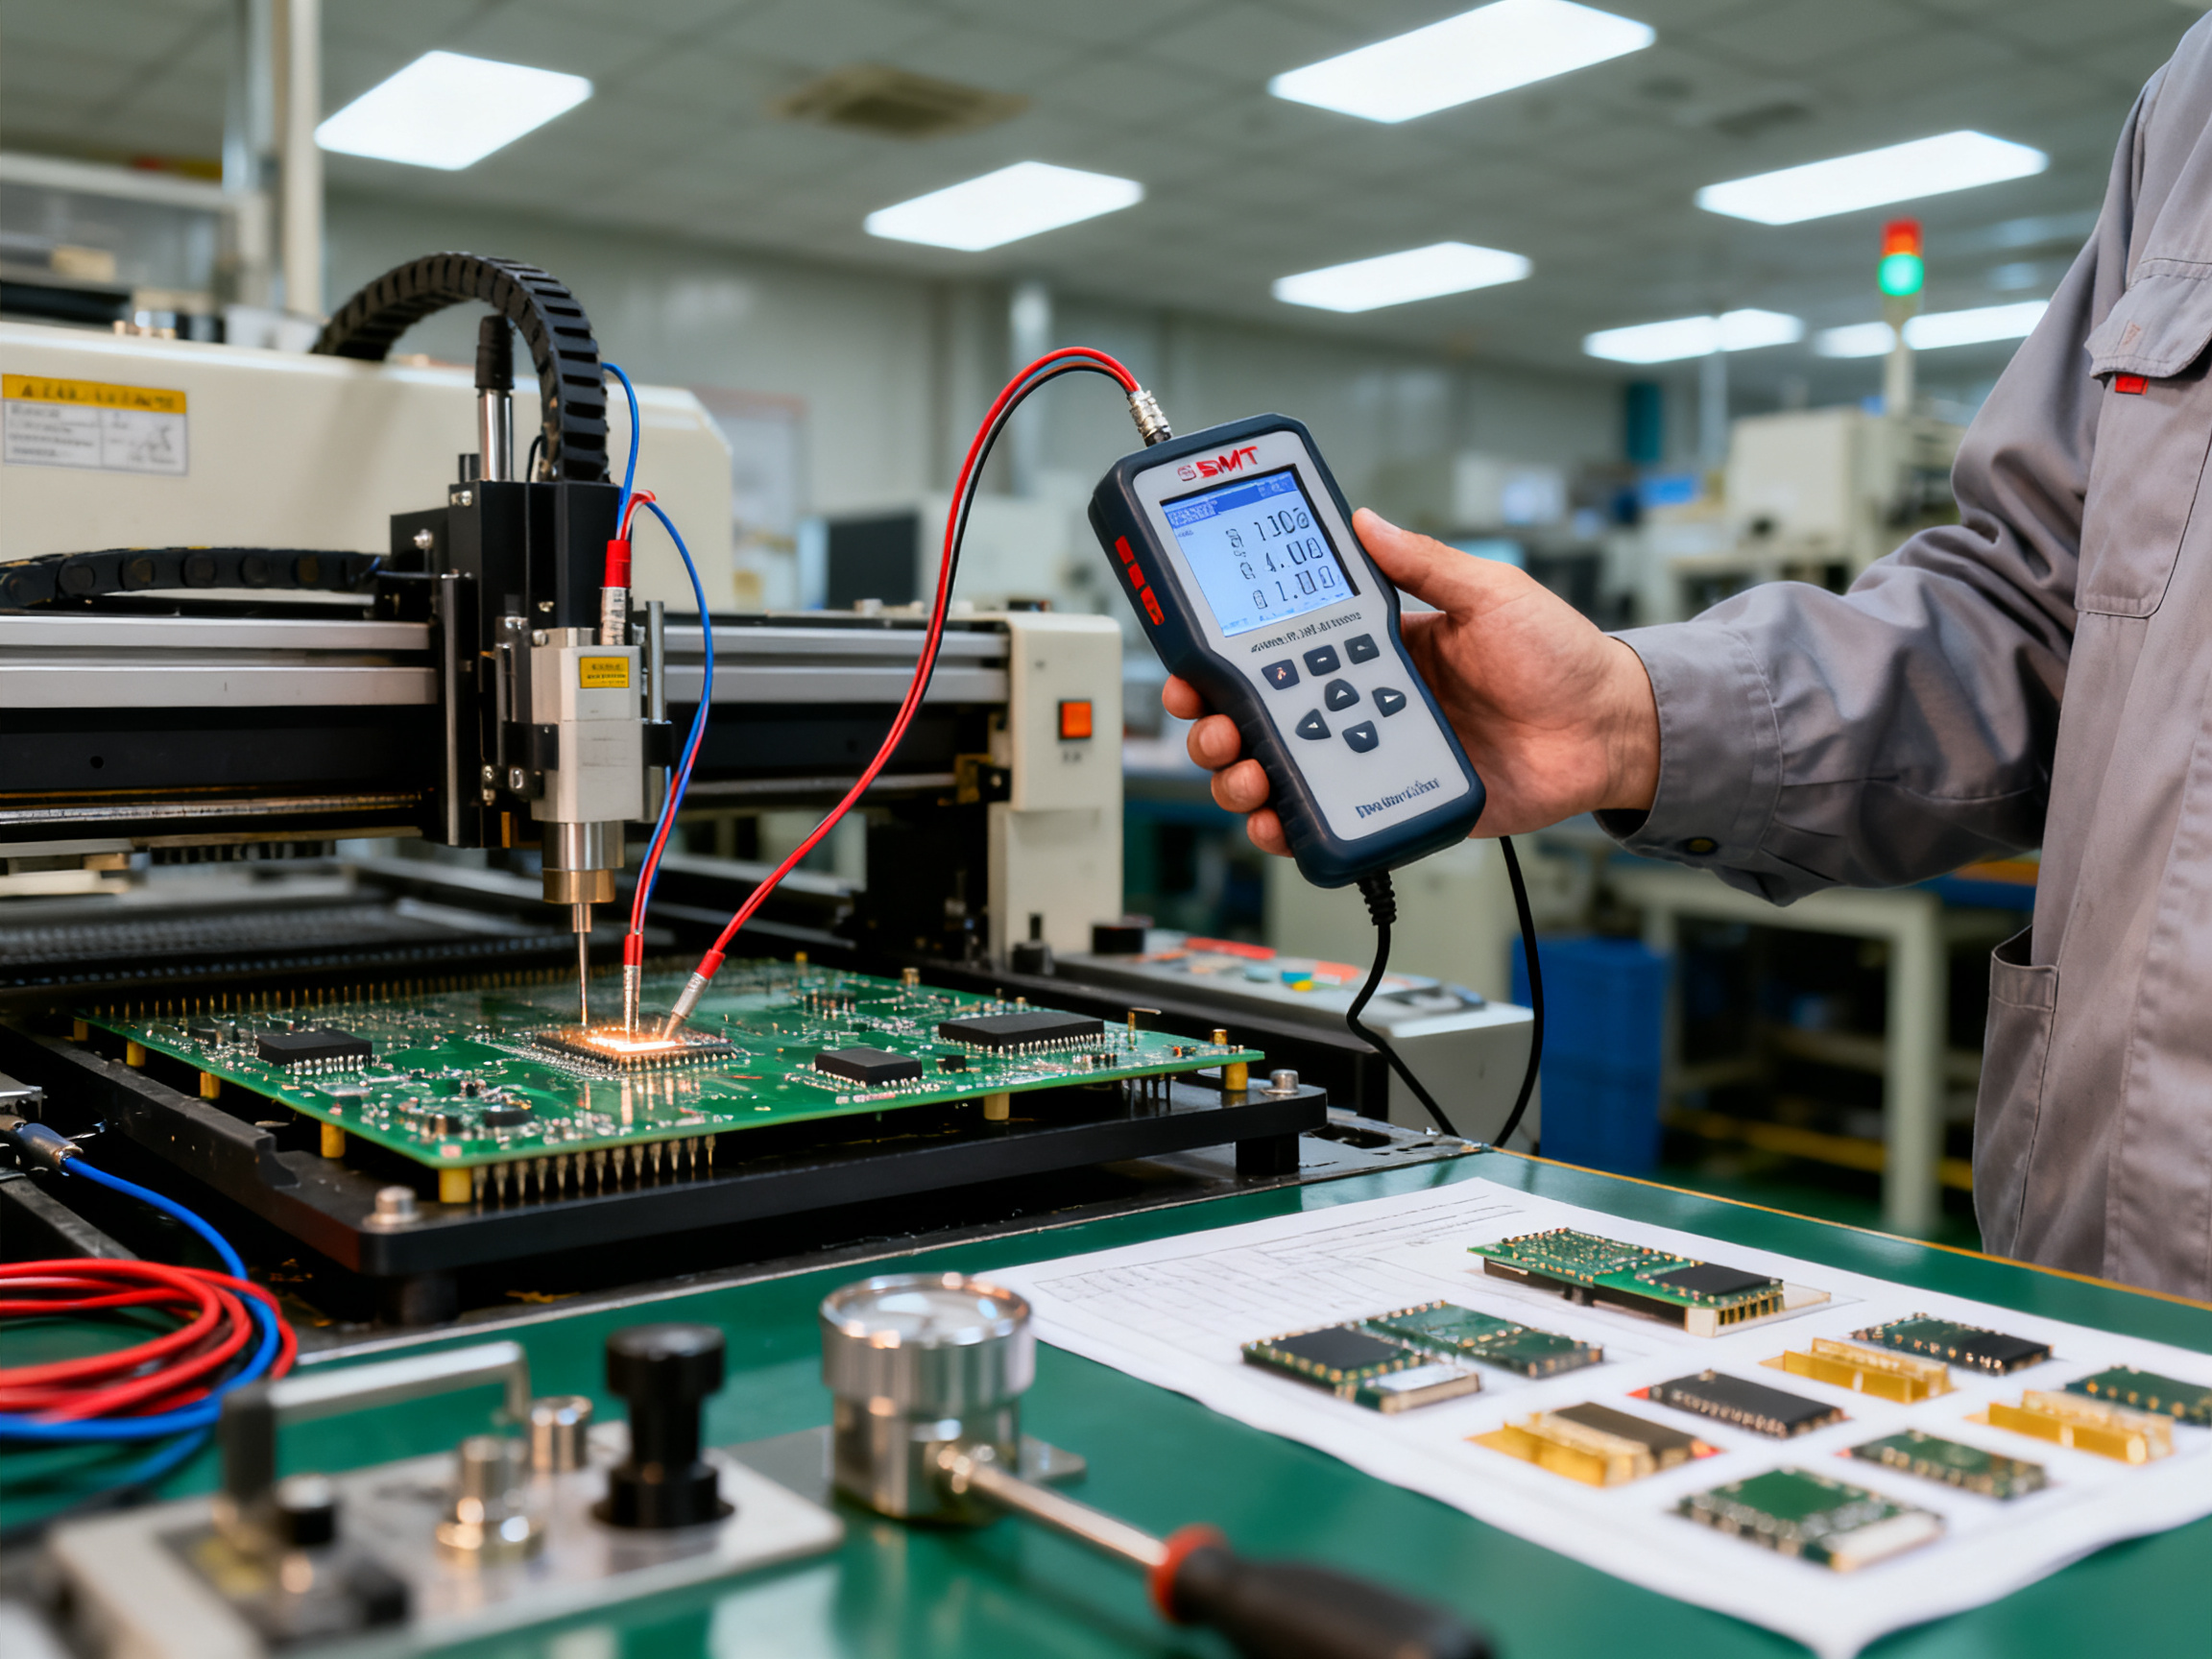
Here’s the deal. Temperature uniformity across the chamber is non-negotiable. Most industrial standards call for plus or minus 10 degrees Fahrenheit uniformity. That means every corner of your oven needs to deliver heat within that tolerance window.
When airflow is properly balanced, you get even heat distribution and your energy costs stay reasonable. But if one zone is running hot to compensate for poor airflow elsewhere, you’re burning extra energy while still getting uneven results.
Modern ovens in 2026 often come with PLC-based controllers and touchscreen HMIs that let you monitor these parameters in real time. Automated recipe management systems can recall optimal settings for different product families, which saves time when you’re switching between jobs.
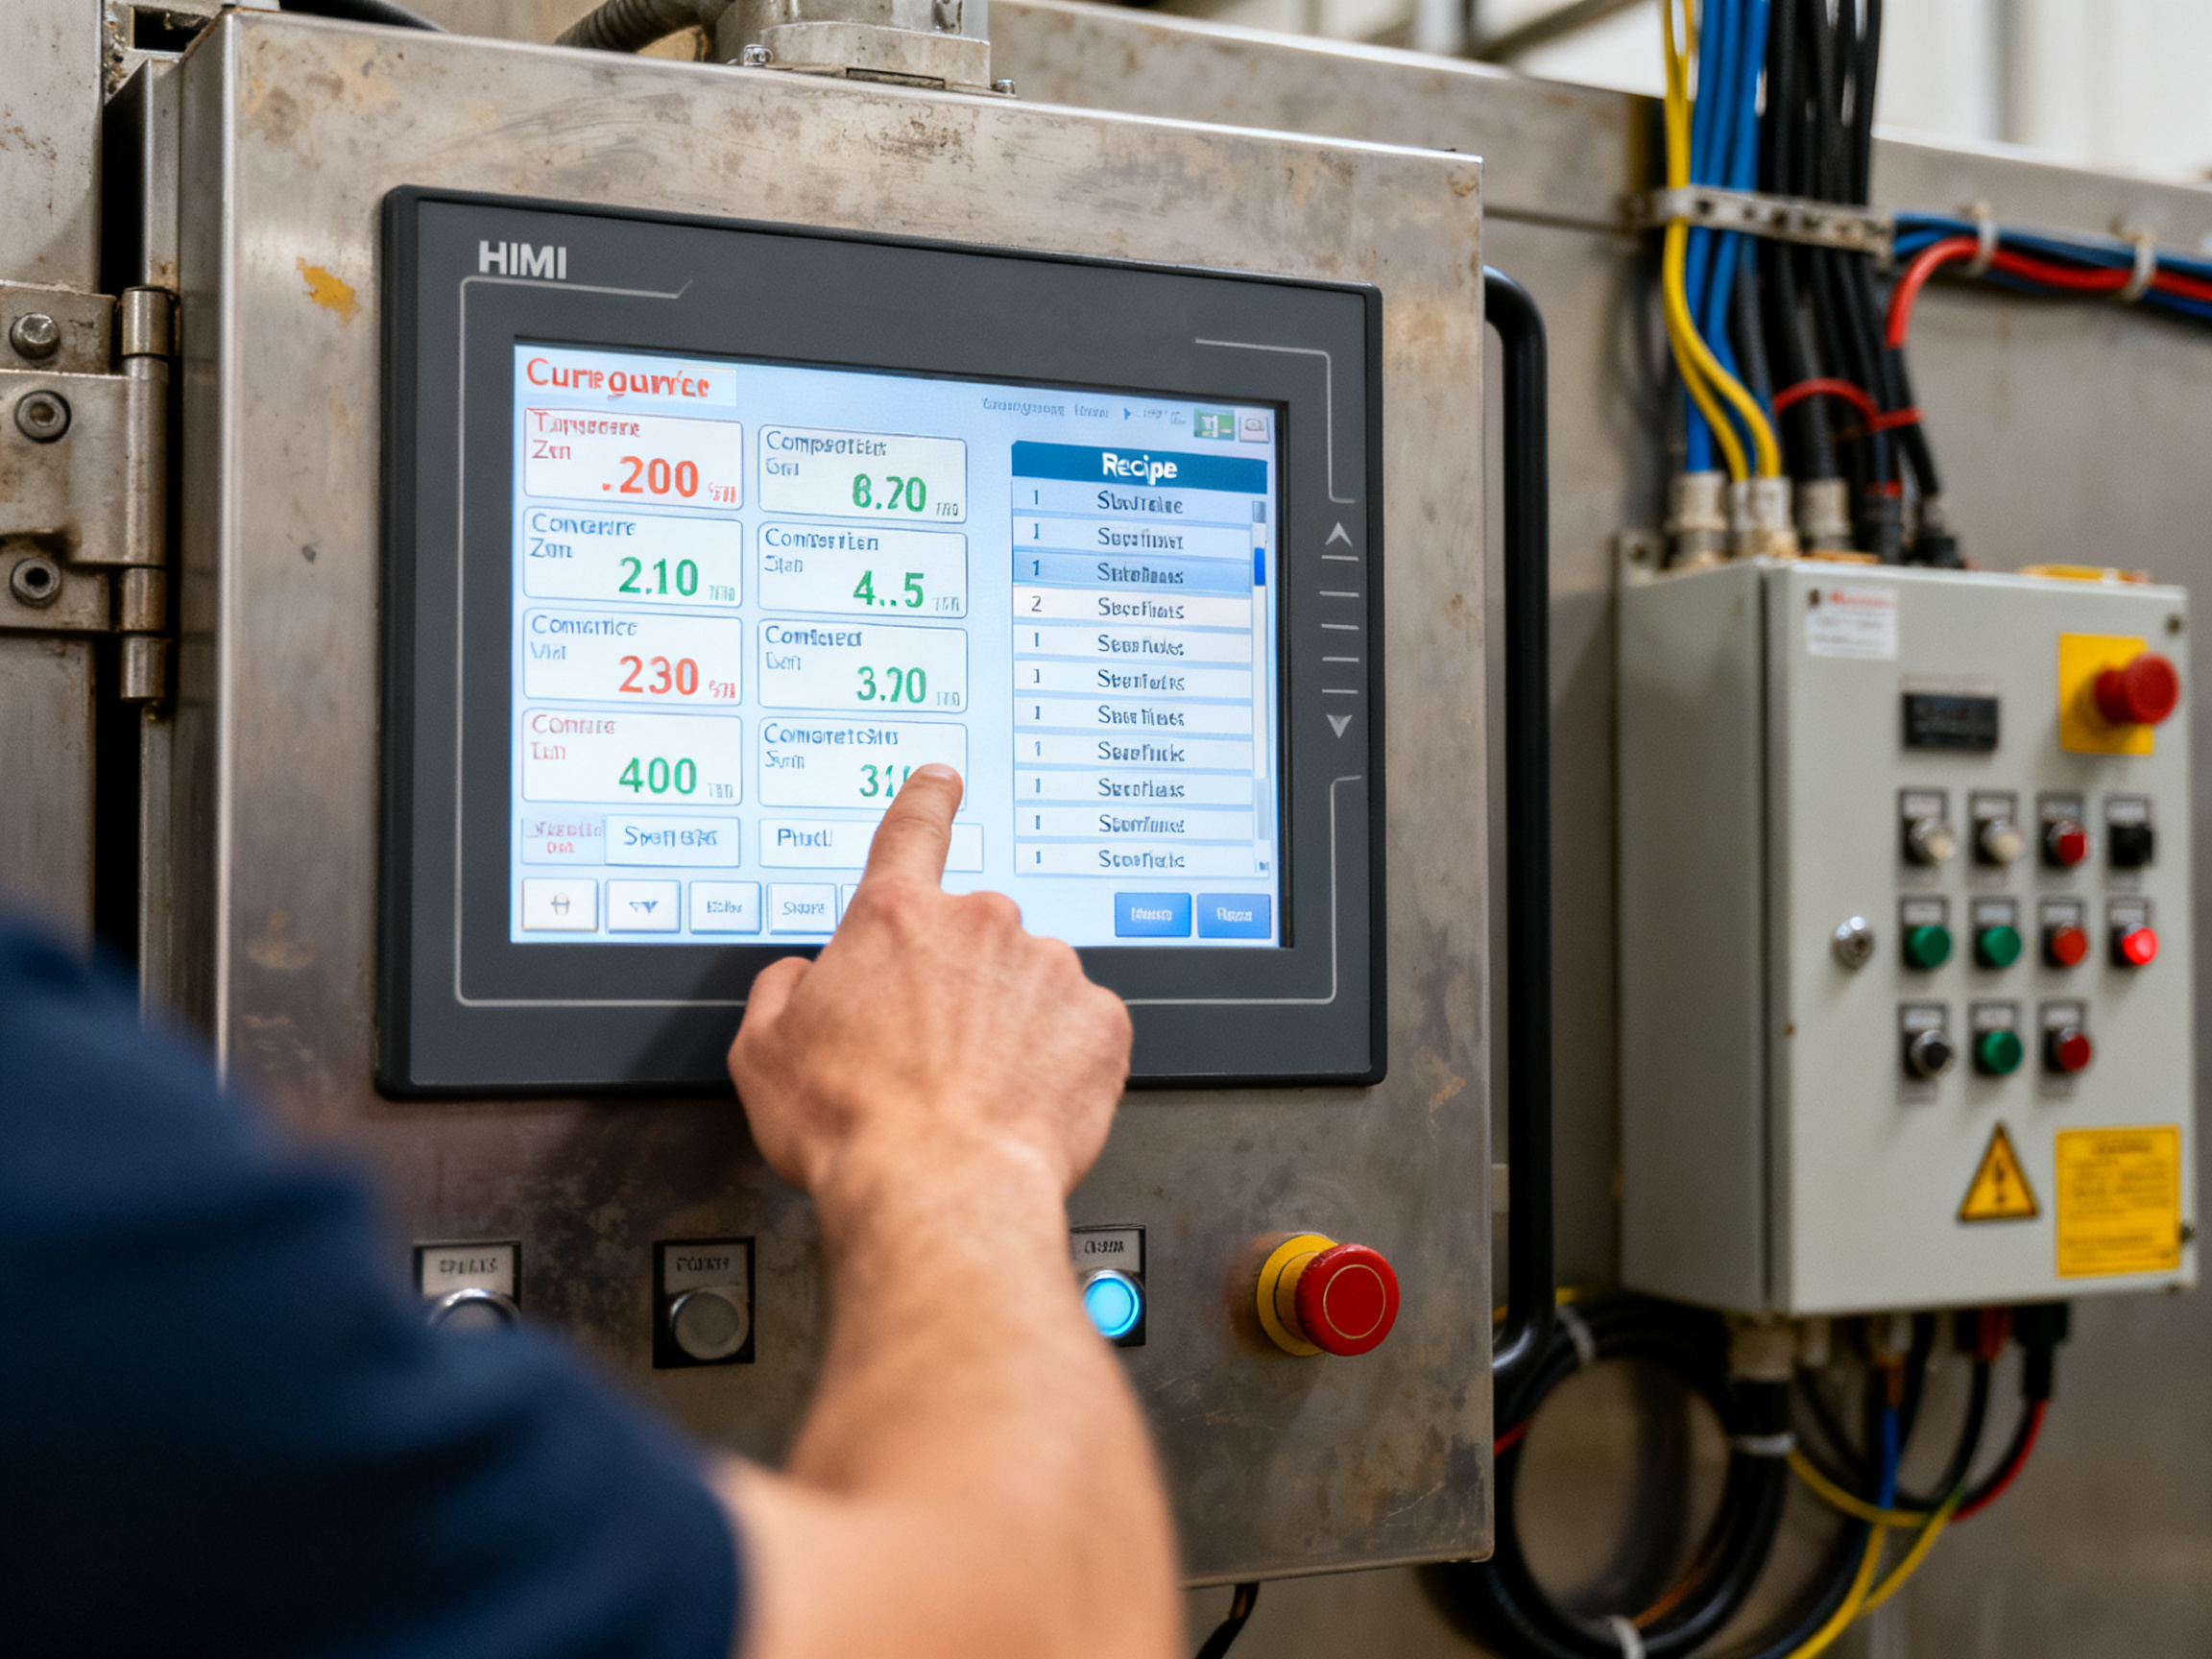
Pro Insight: High-capacity ovens benefit the most from automated airflow balancing. Rather than manually tweaking dampers, let the system auto-adjust based on real-time thermal profiling data. This keeps uniformity tight without constant babysitting.
The Connection to Defects
Wrong settings create specific problems. Too much airflow velocity can cause adhesive splatter on nearby components. Insufficient dwell time at peak temperature leaves coatings tacky and under-cured. Excessive heat in early zones causes surface skinning before the underneath layers fully cure.
We’ve seen bridging defects trace back to conveyor speed errors more than once. The solder paste reflows at the wrong point in the profile because the board spent too little time in the soak zone.
The good news? Once you understand how each setting affects the outcome, troubleshooting becomes systematic rather than guesswork. You’re not chasing phantom problems anymore. You’re adjusting specific parameters and watching specific results.
Calculating and Analyzing Curing Oven Temperature Profiles
Now you know what makes up a temperature profile. But how do you actually create one that works for your specific setup? That’s where the calculation part comes in, and honestly, it’s where a lot of manufacturers either get it right or spend weeks chasing problems they can’t explain.
Step-by-Step Calculation Techniques
Building a temperature profile starts with knowing your adhesive or coating specs. Every material data sheet will list a recommended cure temperature and minimum dwell time. Let’s say you’re working with a thermally cured adhesive that needs 150 degrees Celsius for 30 minutes. That’s your starting point, not the end-all answer.
Next, you factor in your board mass and thermal load. A single lightweight PCB will hit temperature way faster than a stack of heavy assemblies. In practice, you calculate the required conveyor speed by dividing your oven’s heated length by the total profile time needed. If your oven has a 10-foot heated zone and your profile takes 20 minutes, you’re looking at 30 inches per minute conveyor speed.
Ramp rates get calculated the same way. Take the temperature difference between your entry point and peak cure temperature, then divide by your desired ramp time. A typical profile might need to go from 25 degrees Celsius ambient to 150 degrees Celsius in 5 minutes, giving you a ramp rate of 25 degrees per minute.
The tricky part is accounting for thermal lag. Your thermocouple might read 150 degrees at the surface, but the adhesive underneath could still be at 135 degrees. That’s why experienced engineers build in buffer time and test with actual product, not empty boards.
Tools for Analyzing Profile Data
You can’t manage what you don’t measure. Thermocouples are the standard way to capture real temperature data from inside your assemblies. Type K thermocouples work fine for most SMT applications, with bead diameters between 0.005 and 0.025 inches depending on how intrusive you want to be.
Data logger systems have gotten much better in recent years. Modern units in 2026 connect directly to PC software that maps your entire profile visually. You can see exactly where hot spots and cold spots exist across your board in real time.
Some facilities use thermal imaging cameras as a quick check, though these only capture surface temperatures. For critical applications like automotive or medical, you really need direct measurement with embedded thermocouples to validate that internal layers are reaching cure specifications.
Expert Tip: Ramp rates and cooling zones matter more than most people realize. A gradual ramp gives your adhesives time to outgas properly, while a controlled cooling phase prevents thermal stress that leads to cracking in sensitive components.
Real-World Applications in SMT
Here’s a practical example. A consumer electronics manufacturer we worked with was seeing inconsistent bonding on their smartphone camera modules. After running thermal profiling across their curing oven, they discovered their boards were hitting peak temperature 2 minutes before the center of the chamber because of a cold air intrusion near the loading dock.
The fix wasn’t a complex profile redesign. They simply added a 15-degree boost to their preheat zone and adjusted conveyor speed by 3 inches per minute. Yield went from 94 percent to over 99 percent within a single shift.
Another case involved a semiconductor packaging line where adhesive voids were causing field failures. The root cause traced back to ramp rates that were too fast, preventing proper outgassing before the adhesive surface skinned over. Slowing the initial ramp from 30 degrees per minute to 18 degrees per minute eliminated the voiding issue entirely.
These examples show why calculation and measurement go hand in hand. You might have the math worked out perfectly on paper, but real-world conditions like airflow patterns, board density variations, and equipment wear will always throw curveballs. Systematic profiling catches those issues before they become customer complaints.
The industrial standard for temperature uniformity remains plus or minus 10 degrees Fahrenheit across the chamber. Most modern PLC-based ovens can hold that easily when properly configured, but regular profiling validation ensures you catch drift before it impacts quality.
Thermal profiling data also feeds into your preventive maintenance schedules. If you’re seeing gradual increases in ramp time or longer times-to-peak, your heating elements or airflow systems might need attention. Catching these trends early keeps your equipment running efficiently and your defect rates low.
Optimizing Curing Oven Efficiency: Proven Strategies
OK so you understand the theory. Your profiles are calculated right, your settings are dialed in. But now you’re asking the real question: how do you actually make this whole process more efficient without sacrificing quality?
Here’s what I’ve learned from years of working with SMT production lines. Efficiency optimization isn’t about cutting corners. It’s about working smarter with the resources you already have.
Energy Consumption: Where the Money Actually Goes
Let’s talk about operating costs first, because honestly, that’s what keeps most plant managers up at night. A typical industrial curing oven running full shifts in 2026 consumes somewhere between 25 and 50 kilowatt-hours per hour depending on size and age. Older equipment with less efficient insulation can push toward the higher end of that range, and the bills add up fast across multiple production lines.
The biggest energy drain is usually the heating elements themselves. But here’s what many people miss: if your airflow is unbalanced, your heaters work overtime to compensate for hot and cold spots. That means wasted electricity and shorter element lifespan. Optimizing your zone airflow can reduce energy consumption by 15 to 20 percent without touching your profile settings.
Another practical step involves matching your oven’s thermal mass to your actual load. Running a massive industrial oven at 20 percent capacity because that’s all your current order requires? You’re basically heating a warehouse alongside your products. Smaller batch ovens or properly loaded chambers make a real difference to your monthly utility bills.
Lead-Free Compliance and Temperature Control
In 2026, lead-free manufacturing isn’t optional for most electronics categories. RoHS compliance means higher cure temperatures, typically 245 to 260 degrees Celsius for lead-free solders and adhesives compared to the 215 to 230 degree range of older tin-lead processes. That’s a significant jump, and it puts more stress on your equipment.
The upside? Better temperature control actually helps here. Modern PLC-based controllers maintain tighter uniformity across the chamber, which means you’re less likely to over-cure some areas while under-curing others. Less rework equals better throughput and lower cost per board.
Manufacturers using equipment like S&M Co. Ltd. reflow ovens for lead-free applications have reported smoother transitions because those systems are designed with precise temperature control as a core feature rather than an afterthought.
Pro Insight: High-capacity ovens benefit the most from automated airflow balancing. Rather than manually tweaking dampers, let the system auto-adjust based on real-time thermal profiling data. This keeps uniformity tight without constant babysitting.
Automation for Dynamic Adjustments and Uptime
Here’s where 2026 technology really shines. Modern curing ovens do a lot of the heavy lifting that used to require experienced operators making constant manual adjustments.
PLC-based controllers with touchscreen HMIs let you store hundreds of recipes. Switching between product families takes seconds instead of 30 minutes of manual tweaking. Recipe management systems automatically recall optimal settings for each job, which means your operators spend time on higher-value work.
Predictive maintenance algorithms built into newer systems monitor heating element performance and airflow patterns over time. They flag potential failures before they happen, keeping your production lines running when you need them most.
Conveyor synchronization with upstream and downstream equipment means smoother material flow and fewer bottlenecks. When your curing oven feeds into automated optical inspection stations or packaging lines, keeping everything in rhythm prevents jams and wait times.
The numbers add up quickly. Facilities implementing comprehensive oven optimization typically see throughput improvements of 12 to 18 percent and energy reductions of 15 to 25 percent. Combined with the defect reduction from better thermal consistency, that’s a meaningful impact on your bottom line.
The best part? Most of these gains come from proper configuration and automation rather than expensive equipment upgrades. Your existing equipment probably has more potential than you’re using.
Troubleshooting Common Issues in Curing Ovens
No matter how perfect your profiles look on paper, things go wrong. That’s just manufacturing. The key is knowing how to identify problems fast and fix them faster.
Identifying Symptoms of Non-Uniform Heating
When something’s off in your curing oven, your boards will tell you. Surface discoloration, especially browning or scorching on the top side while the bottom looks pale, points to hot spots in the cure zone. Adhesive that’s still tacky after passing through the full profile suggests either insufficient dwell time or cold areas that never reached target temperature.
Bridging defects between components often trace back to conveyor speed errors. If your boards move through the profile too quickly, the solder paste doesn’t reflow properly. Voids in adhesive layers usually mean the ramp rate was too aggressive, trapping gases before the surface could skin over. Popcorning on moisture-sensitive components happens when the preheat zone doesn’t dry them out gradually enough before hitting cure temperatures.
A good practice is to log every thermal profiling run and compare results against your baseline. Unexpected variations become patterns, and patterns reveal the truth about what’s happening inside your oven.
Fixes and Adjustments for Inconsistent Profiles
Once you’ve identified the symptom, the fix is usually straightforward. Hot spots in the cure zone often respond to airflow damper adjustments first. Check your heating elements too, because one failing element can create localized temperature spikes that throw off the whole chamber.
For insufficient preheat, verify your air recirculation settings. Sometimes cold air from your loading dock sneaks into the chamber, especially if operators leave doors open between cycles. Conveyor speed drift is sneaky too; motors wear out gradually and boards start arriving at the cure zone before they’re fully soaked.
We once spent three days chasing intermittent tacky adhesive before realizing the loading dock door was left open on cold mornings, dropping chamber temps by 15 degrees before anyone noticed. The fix took 5 minutes. Finding it took forever.
Maintenance Routines to Prevent Recurring Issues
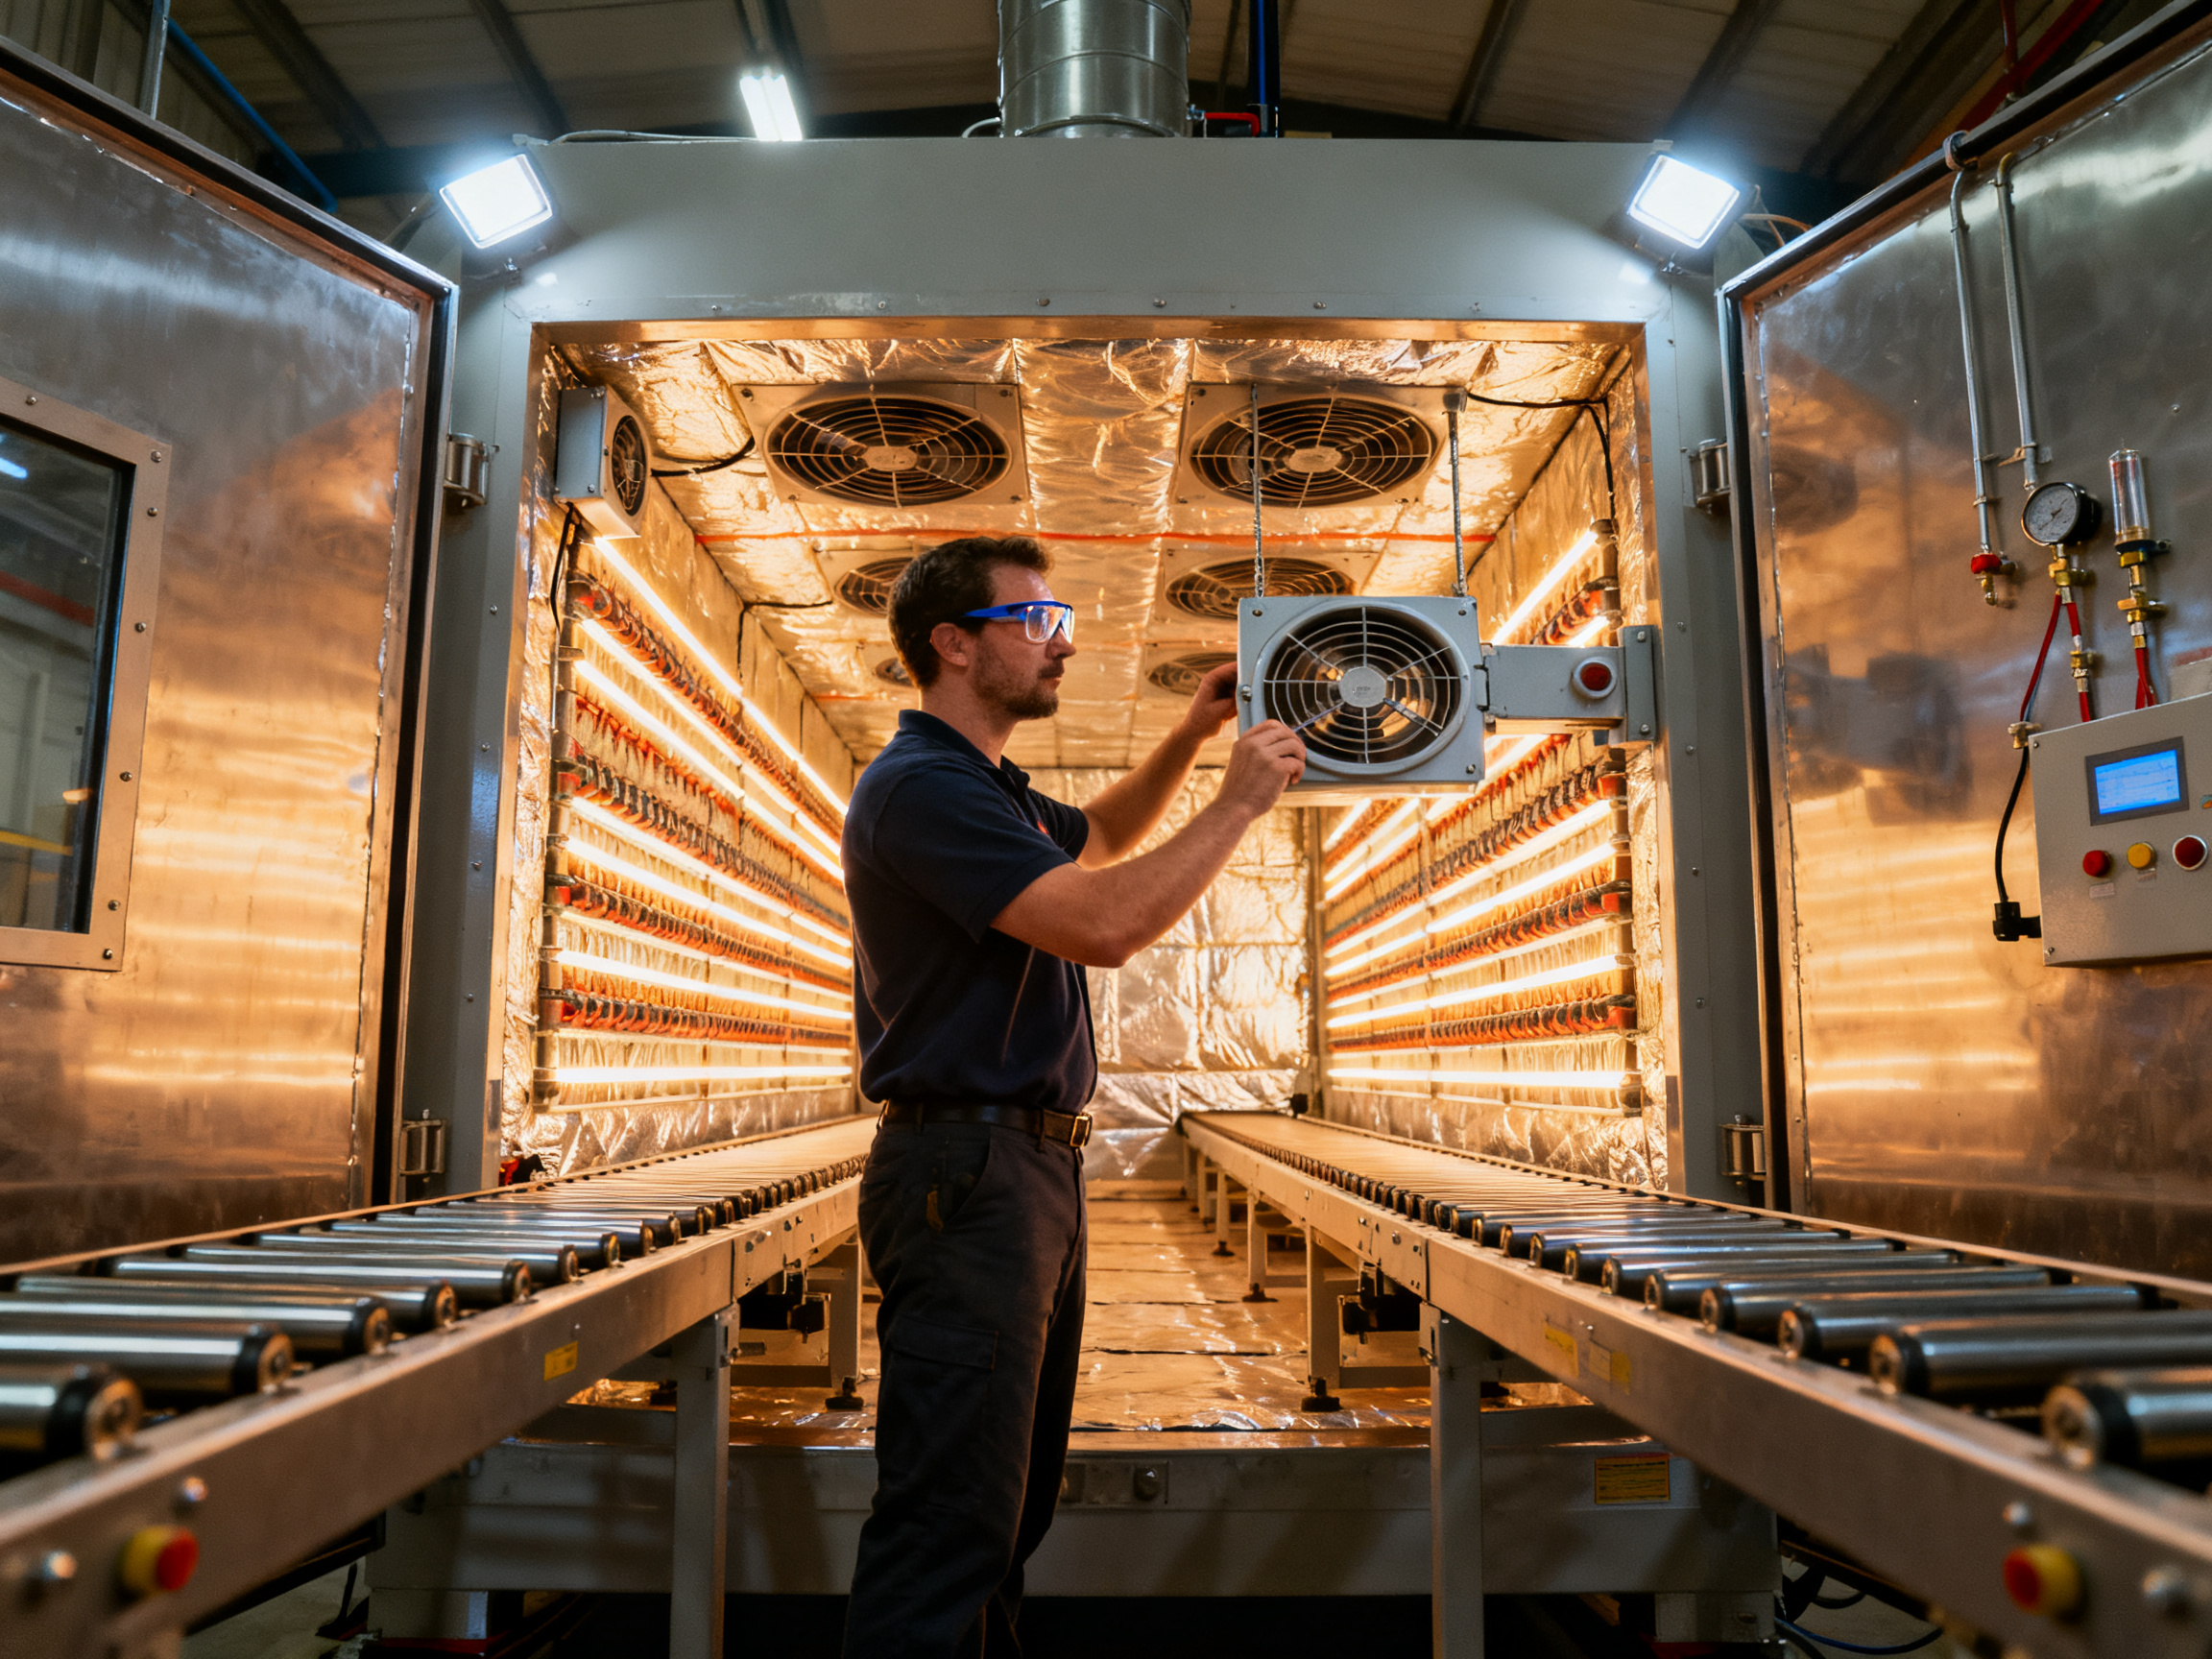
Preventive maintenance catches problems before they impact production. Here’s what actually works in the field.
Thermocouple calibration should happen quarterly at minimum. These sensors drift over time, and if yours is reading 5 degrees low, you’re chronically under-curing without knowing it. Heating element inspection monthly helps too; burned-out elements create hot spots that no amount of airflow adjustment can fix.
Airflow system cleaning matters more than most people realize. Dust and flux residue accumulate on fans and dampers, reducing efficiency and creating unbalanced heating. Most facilities schedule this every 500 operating hours for heavily used ovens.
Conveyor belt tension and alignment checks weekly prevent boards from shifting during transit. A misaligned belt might not cause obvious jams, but it can tilt heavy assemblies enough to expose one corner to different thermal conditions.
And don’t skip PLC controller firmware updates. In 2026, these often include algorithm improvements for temperature control that directly affect uniformity and energy consumption.
| Common Problem | Likely Cause | Quick Fix |
|—————-|————–|———–|
| Top-side scorching, bottom pale | Hot spots in cure zone | Balance airflow dampers; check heating elements |
| Adhesive still tacky post-cure | Insufficient dwell time or cold zones | Verify conveyor speed; check zone temperatures |
| Component bridging | Conveyor speed too fast | Measure actual speed; recalibrate |
| Adhesive voiding | Ramp rate too aggressive | Slow initial ramp to allow outgassing |
| Popcorning on BGAs | Inadequate preheat drying | Extend preheat zone dwell; check for drafts |
| Inconsistent batch results | Thermocouple drift or calibration loss | Quarterly calibration; compare to baseline |
Pro Insight: When troubleshooting, adjust one variable at a time and verify results before moving to the next adjustment. This systematic approach prevents chasing symptoms rather than root causes.
When things still don’t add up, consider factors outside the oven itself. Ambient temperature swings from nearby equipment, air conditioning cycles, or seasonal changes can all affect chamber dynamics. Logging room conditions alongside your profiling data helps connect the dots.
S&M Co. Ltd. builds diagnostic capabilities into their reflow ovens that make this kind of troubleshooting faster. Their systems include real-time monitoring features that flag deviations automatically, so you spend less time diagnosing and more time producing quality boards.
The Future of Curing Oven Technology
Here’s something that gets me excited when I think about where SMT manufacturing is heading. The curing ovens of tomorrow won’t just follow recipes. They’ll think alongside you.
Real-time monitoring is already changing the game. Modern systems in 2026 track temperature, airflow, and component positions continuously, feeding data to central dashboards where operators can spot drift before it becomes a defect. This shift from reactive to proactive quality control means fewer scrapped boards and more confidence in what ships out the door.
Predictive maintenance algorithms are another piece of the puzzle. Instead of waiting for heating elements to fail or airflow patterns to degrade, newer ovens monitor their own health. They flag anomalies, suggest calibration schedules, and some can even auto-adjust parameters when conditions change. Facilities using these systems report significantly less unplanned downtime compared to traditional preventive maintenance schedules.
Machine learning is starting to show up in temperature profile optimization too. The idea is straightforward: feed the system thousands of production cycles, let it identify patterns between settings and outcomes, then let it suggest tweaks you might not have considered. Early adopters are seeing profile optimization cycles that used to take weeks compressed into hours.
Energy efficiency continues pushing design improvements as well. Better insulation materials, more efficient heating element geometries, and smarter power management mean newer ovens deliver more output per kilowatt-hour. For manufacturers facing pressure to reduce carbon footprints and utility costs, this matters.
Companies like S&M Co. Ltd. are building these capabilities into their reflow oven lines, focusing on the precision controls that advanced SMT processes demand. Their approach integrates real-time monitoring and recipe management as core features rather than expensive add-ons.
The trajectory makes sense. Manufacturing gets more complex, tolerances get tighter, and the cost of errors goes up. Curing oven technology that adapts, learns, and optimizes alongside human operators isn’t science fiction anymore. It’s becoming the standard for shops that want to stay competitive.
So what does this mean for you right now? If you’re still running legacy equipment without monitoring capabilities, you’re probably leaving efficiency on the table. Upgrading might cost money upfront, but the combination of energy savings, defect reduction, and uptime gains typically pays back within a year or two.
The future of SMT curing isn’t about replacing human expertise. It’s about giving engineers better tools to make faster, smarter decisions. And honestly, that’s a future worth getting excited about.
Conclusion: Mastering Temperature Profiles for Excellence in SMT Manufacturing
OK, let’s bring it all together.
By now you should have a solid grasp of what curing oven temperature profiles actually do, how to calculate them properly, and why those settings behind the panel matter so much to your final product quality. The preheat zone gets your assemblies ready. The soak zone ensures even heat penetration. The cure zone locks everything in place. The cooling zone prevents thermal shock. Miss any of those pieces and you’re rolling the dice on defects that show up weeks later in your customers’ hands.
Here’s the thing though. Knowledge alone doesn’t improve your bottom line. Action does. The manufacturers pulling ahead in 2026 aren’t just reading about best practices. They’re implementing systematic profiling routines, upgrading to PLC-based controllers with real-time monitoring, and building preventive maintenance schedules that catch drift before it becomes scrap.
Temperature uniformity across your chamber, proper ramp rates, and validated dwell times aren’t optional extras. They’re the foundation of repeatable quality in high-density SMT assembly.
Best Practices Checklist
- [ ] Validate temperature profiles quarterly with embedded thermocouples
- [ ] Balance airflow dampers for chamber uniformity within ±10 degrees F
- [ ] Calibrate thermocouples on a regular schedule
- [ ] Store optimized recipes for each product family
- [ ] Monitor conveyor speed drift weekly
- [ ] Clean airflow systems every 500 operating hours
- [ ] Review PLC firmware updates quarterly
- [ ] Log all profiling data for trend analysis
If you’re still running legacy equipment without monitoring capabilities, now’s the time to evaluate an upgrade. Companies like S&M Co. Ltd. offer reflow ovens with built-in diagnostic features that make this whole process way less painful.
Your competitors are already optimizing. The question is whether you’re going to keep up.